So the 90's are all the rage lately, fashion- and makeup-wise. I was a kid in the 90's, I remember all the cool kids looking and dressing a certain way and my older sister was one of them. I decided to jump on the bandwagon after having asked on Facebook for some inspiration (thanks, Kimberley!) and do a 90's makeup, just the grunge version.

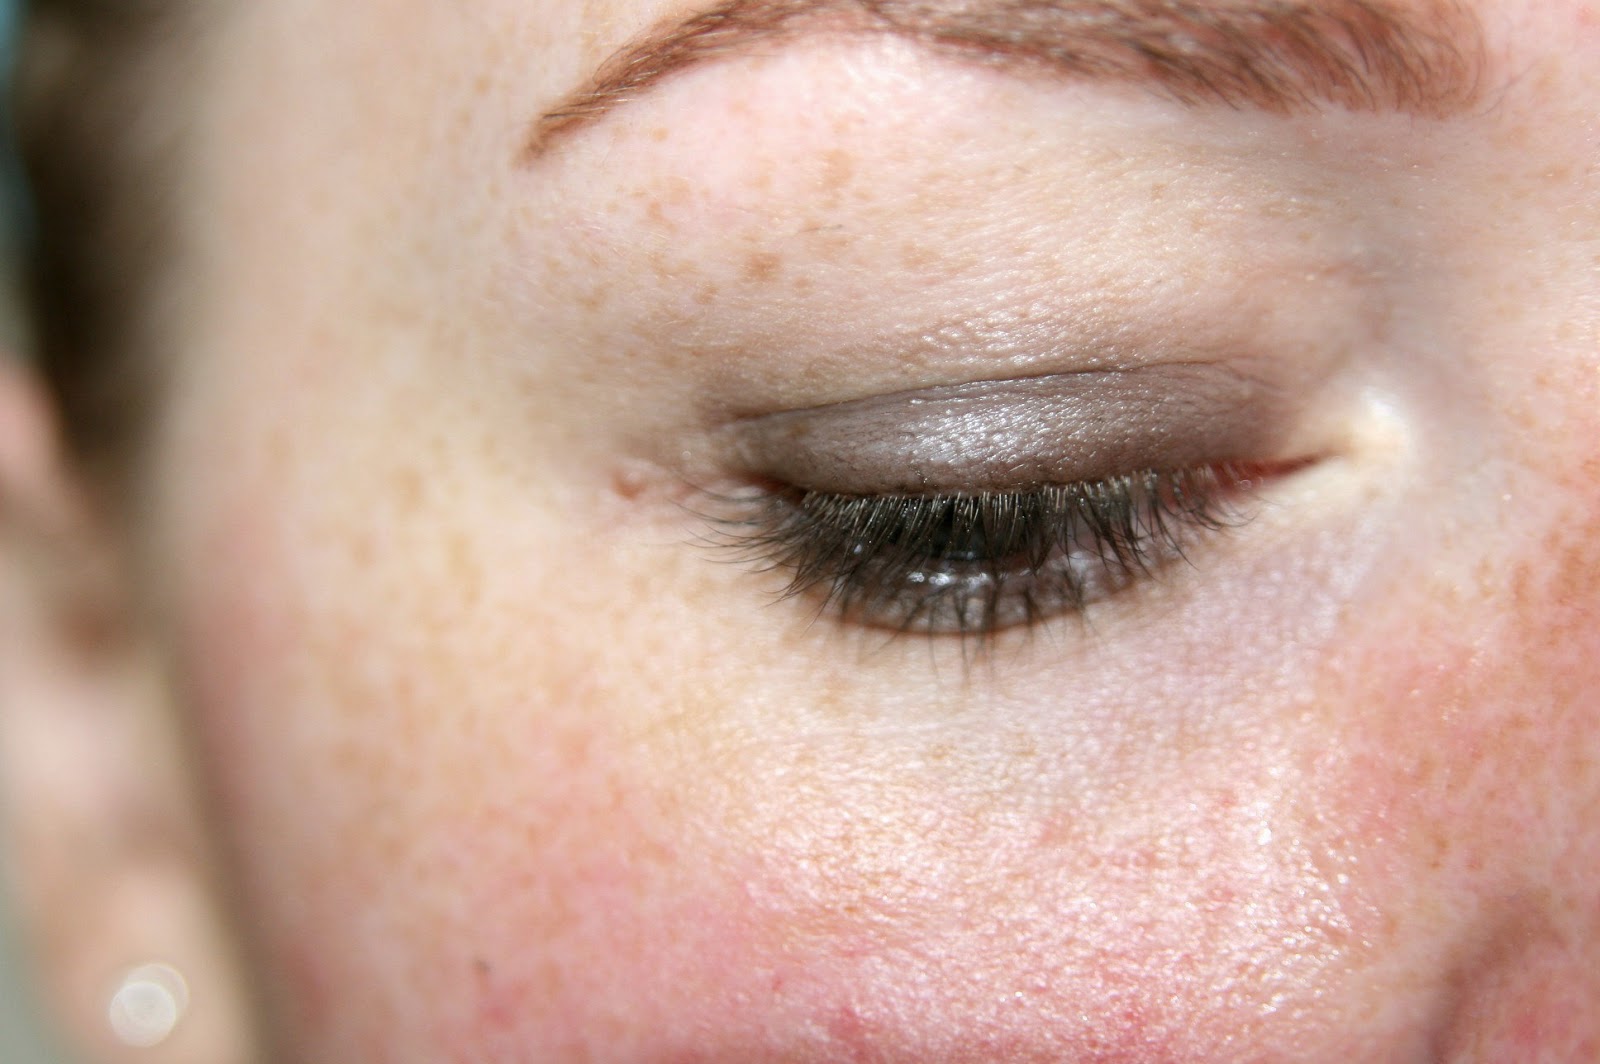
We start out, as per usual, with my bare face. I just moisturized using my usual Neutral moisturizer and used my Too Face Shadow Insurance Primer on my eyelids.


Grunge makeup was very not really meant to be beautifying and was all about the pale skin as well. No need for a full-coverage foundation or concealer really. But this is an inspired tutorial, so it's sort of my take on the era. For my face I used my Essence All About Matt primer and then applied my Max Factor Facefinity foundation in Light Ivory 40, which I blended into my skin using a Real Techniques Miracle Complexion Sponge.


I concealed under my eyes and around my nose. I also blended this in using the same Real Techniques sponge. I experimented with my brows a bit, since I went and coloured my hair bright red again. I used an old Catrice brow pencil and some random shadows from the palette you're about to see me use.


For the eyes, I started out with blending Maybellines Color Tattoo in Permanent Taupe across my mobile lid and into the crease. I just used my finger for this. Along my lashline I smudged the Essence Long Lasting Eye Pencil in Black Fever which I proceeded to blend out with a pencil brush.
For todays look I decided to break out my huge Boozy Cosmetics P117 palette. It has any colour I could ever need and was sure to get me the look I wanted.


With a large, fluffy blending brush I applied this very yellow/mustardy light brown throughout the top of my crease and almost on the browbone. This is to ease blending and help everything transition into my skin tone better. It also gives the look a very warm "glow" right off the bat.

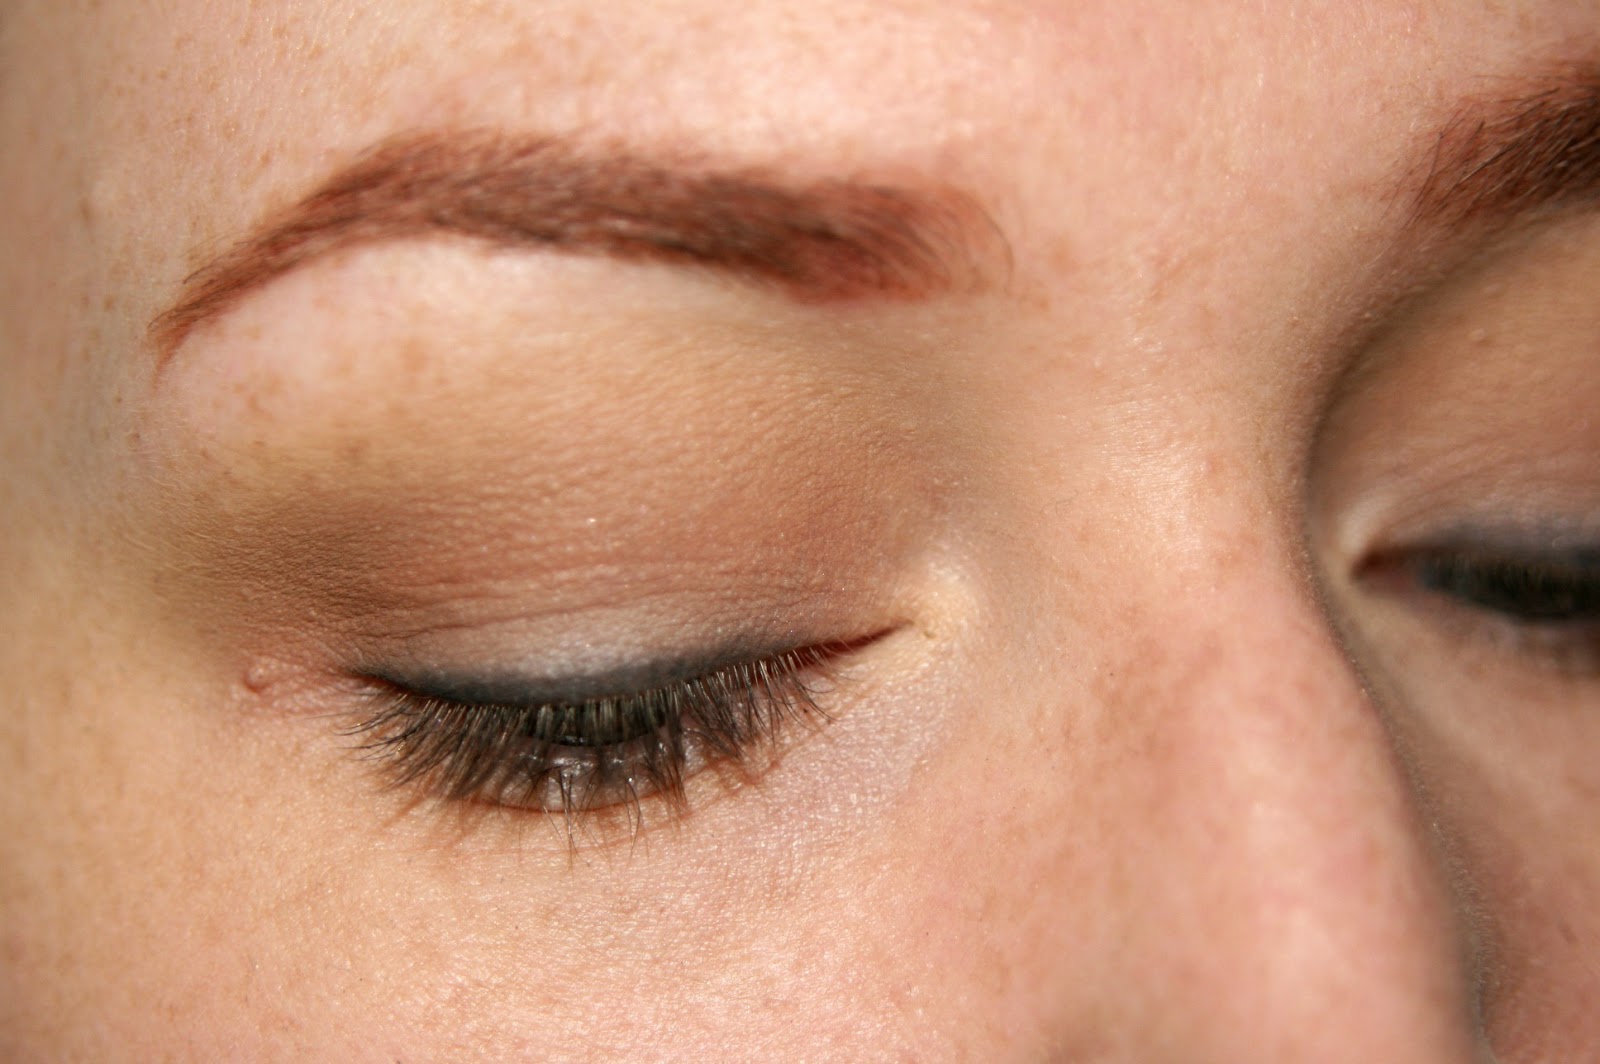
With the same brush, I then applied a reddish medium brown into the crease itself, which again is just warming up the whole look. Ideally, to be proper grunge about it, you wouldn't blend it as much as I have, since that's very much not what the look was about. But this is my modern take on it.


With a flat shader brush I applied a warm, chocolatey brown over my mobile lid and blended it slightly into my crease. As you can see the liner looks a bit softer like this and a bit more "lived in". I also smudged the Essence Eye Pencil on my lower lash line.


With a pencil brush, I blended out the lower lashline with the very same chocolatey brown. This does not need to be neat or tidy in any way. Messy is good, and I have problems with messy when it comes to my makeup. So we'll stick to my modern take on this.


I lined my upper and lower waterline with the same black liner, curled my lashes with my Tweezerman lash curlers and applied mascara GENEROUSLY. To the point where your lashes are starting to clump, but aren't quite there yet. Good thing I like a lot of lash...


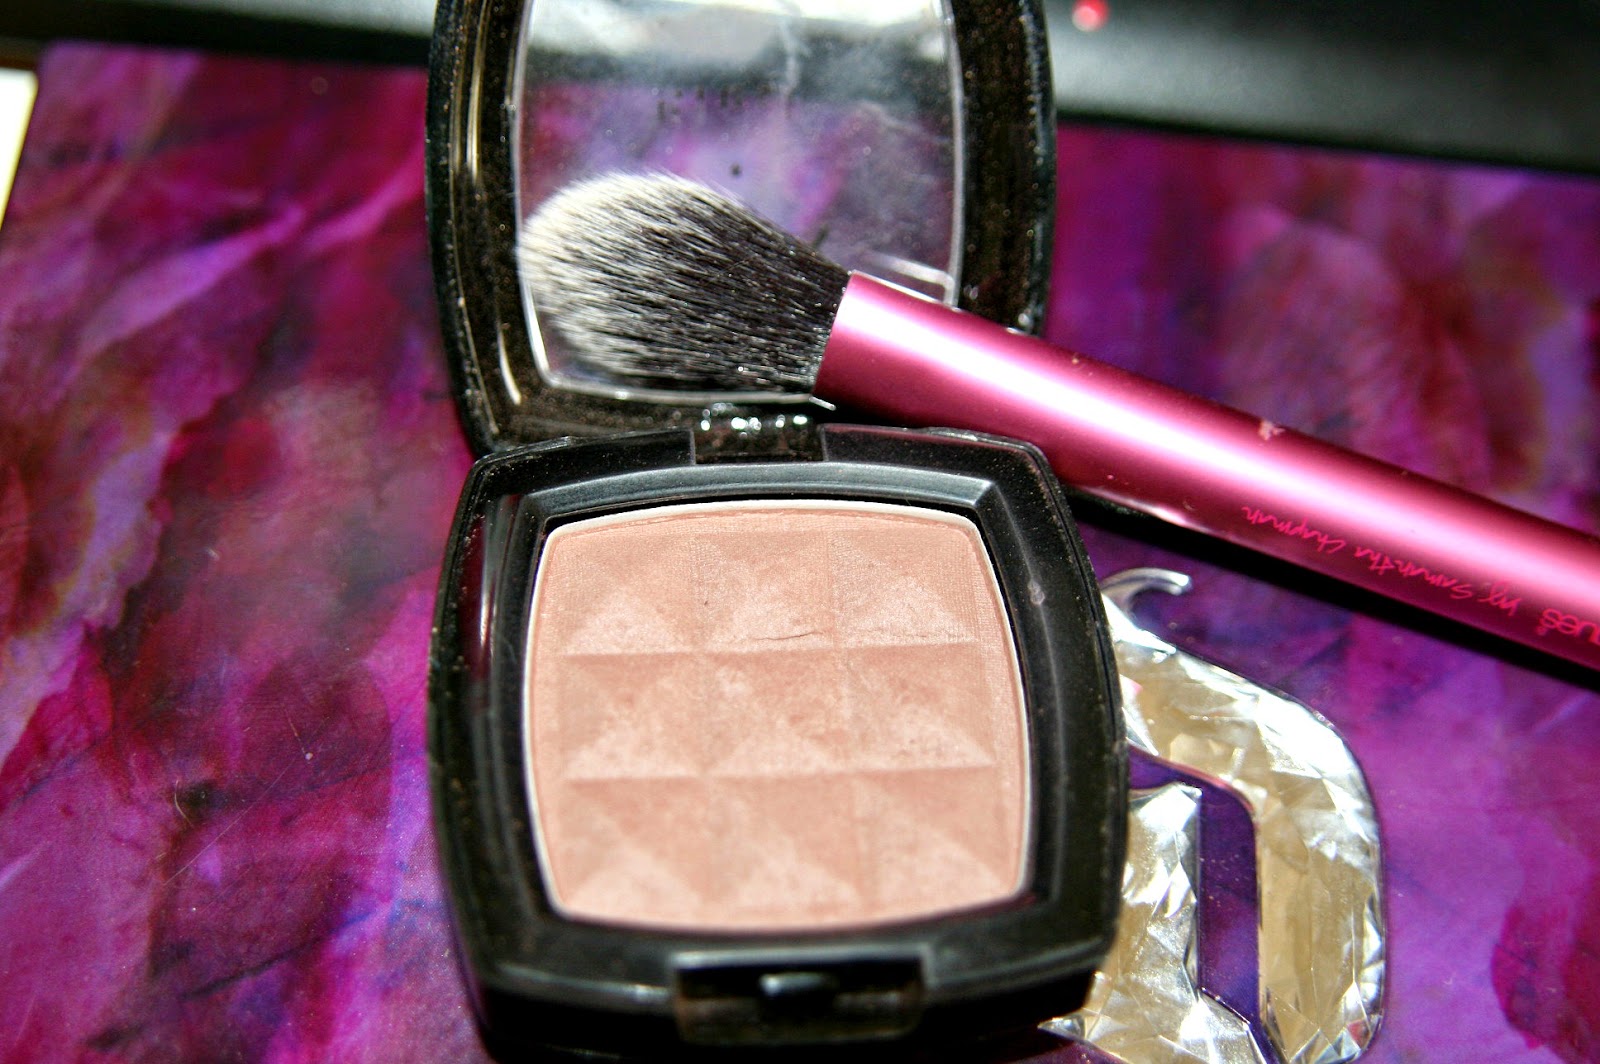
I powdered (a lot) using my Essence All About Matt pressed translucent powder. The 90's were ALL about that matte skin. I did this with a Real Techniques Powder Brush. I did my contour, also fairly heavily (for my doing), with Nyx Blush in Taupe and a Sigma SS109 brush (old numbering). I didn't apply any blush and would have actually preferred to get rid of some of my natural flush for this look, but alas.

We are going in to fall and as per usual lip trends are matte. THE lip trend of the moment is the brown-nude lip of the 90's which to me is one of the stars of the Maybelline Color Drama Intense Velvet Lip Pencil collection. I have two of them and both will work for this look. Let me show you!


First up we have 630 Nude Perfection, which is BANG on trend for the moment. It's brown, it's warm, it's matte and it's gorgeous. Even on my pale skin, it works. Freshly applied, it looks like it has a sheen, but it sets VERY matte and will last for hours.

A kind of midway option is the berry colour, 310 Berry Much, applied very lightly and blending it in with a finger to make it more of a stain. This would probably be the most modern and wearable way to do this with a darker lip. It is matte, on trend and wears for a good amount of time.


And the last option I provide you with in this tutorial is a full-on application of Berry Much. It's dark, it's vampy, it's matte and I love it. It looks great with my very pale skin and even with my new red hair. Most people would probably wear this with a bit of a softer eyelook and a bit less mascara to keep it wearable, but I am loving the full-on everything of this.
If me in the 90's had known that 27 year old me would wear makeup like this, she'd be so excited!
To go with the fashion trend of the moment, wear this look with a trashed band/black t-shirt, destroyed jeans and a flannel shirt tied around your waist. Pair with combat boots or Doc Martens and you're set!
Are you on board with the 90's trend for the moment? All matte err'thang? Let me know your thoughts in the comments below!
Thank you for reading!
XXX
We start out, as per usual, with my bare face. I just moisturized using my usual Neutral moisturizer and used my Too Face Shadow Insurance Primer on my eyelids.
Grunge makeup was very not really meant to be beautifying and was all about the pale skin as well. No need for a full-coverage foundation or concealer really. But this is an inspired tutorial, so it's sort of my take on the era. For my face I used my Essence All About Matt primer and then applied my Max Factor Facefinity foundation in Light Ivory 40, which I blended into my skin using a Real Techniques Miracle Complexion Sponge.
I concealed under my eyes and around my nose. I also blended this in using the same Real Techniques sponge. I experimented with my brows a bit, since I went and coloured my hair bright red again. I used an old Catrice brow pencil and some random shadows from the palette you're about to see me use.
For the eyes, I started out with blending Maybellines Color Tattoo in Permanent Taupe across my mobile lid and into the crease. I just used my finger for this. Along my lashline I smudged the Essence Long Lasting Eye Pencil in Black Fever which I proceeded to blend out with a pencil brush.
For todays look I decided to break out my huge Boozy Cosmetics P117 palette. It has any colour I could ever need and was sure to get me the look I wanted.
With a large, fluffy blending brush I applied this very yellow/mustardy light brown throughout the top of my crease and almost on the browbone. This is to ease blending and help everything transition into my skin tone better. It also gives the look a very warm "glow" right off the bat.
With the same brush, I then applied a reddish medium brown into the crease itself, which again is just warming up the whole look. Ideally, to be proper grunge about it, you wouldn't blend it as much as I have, since that's very much not what the look was about. But this is my modern take on it.
With a flat shader brush I applied a warm, chocolatey brown over my mobile lid and blended it slightly into my crease. As you can see the liner looks a bit softer like this and a bit more "lived in". I also smudged the Essence Eye Pencil on my lower lash line.
With a pencil brush, I blended out the lower lashline with the very same chocolatey brown. This does not need to be neat or tidy in any way. Messy is good, and I have problems with messy when it comes to my makeup. So we'll stick to my modern take on this.
I lined my upper and lower waterline with the same black liner, curled my lashes with my Tweezerman lash curlers and applied mascara GENEROUSLY. To the point where your lashes are starting to clump, but aren't quite there yet. Good thing I like a lot of lash...
I powdered (a lot) using my Essence All About Matt pressed translucent powder. The 90's were ALL about that matte skin. I did this with a Real Techniques Powder Brush. I did my contour, also fairly heavily (for my doing), with Nyx Blush in Taupe and a Sigma SS109 brush (old numbering). I didn't apply any blush and would have actually preferred to get rid of some of my natural flush for this look, but alas.
We are going in to fall and as per usual lip trends are matte. THE lip trend of the moment is the brown-nude lip of the 90's which to me is one of the stars of the Maybelline Color Drama Intense Velvet Lip Pencil collection. I have two of them and both will work for this look. Let me show you!
First up we have 630 Nude Perfection, which is BANG on trend for the moment. It's brown, it's warm, it's matte and it's gorgeous. Even on my pale skin, it works. Freshly applied, it looks like it has a sheen, but it sets VERY matte and will last for hours.
A kind of midway option is the berry colour, 310 Berry Much, applied very lightly and blending it in with a finger to make it more of a stain. This would probably be the most modern and wearable way to do this with a darker lip. It is matte, on trend and wears for a good amount of time.
And the last option I provide you with in this tutorial is a full-on application of Berry Much. It's dark, it's vampy, it's matte and I love it. It looks great with my very pale skin and even with my new red hair. Most people would probably wear this with a bit of a softer eyelook and a bit less mascara to keep it wearable, but I am loving the full-on everything of this.
If me in the 90's had known that 27 year old me would wear makeup like this, she'd be so excited!
To go with the fashion trend of the moment, wear this look with a trashed band/black t-shirt, destroyed jeans and a flannel shirt tied around your waist. Pair with combat boots or Doc Martens and you're set!
Are you on board with the 90's trend for the moment? All matte err'thang? Let me know your thoughts in the comments below!
Thank you for reading!
XXX