HI! Long time no see, real life things, blablabla.
I got new makeup and some new brushes. I played with them and took pictures of it. Let me show you!
WARNING! Very photo heavy post ahead.


After the shower I cleaned my skin with the Garnier Micellaire Water. I then applied the Kruidvat Skin Science Beauty Elixir Serum, the Skin Science Eye Gel, the Neutral Face Cream and the Garnier BB Eye Cream Roller ball and moisturized my lips with my EOS Honeysuckle Honeydew lipbalm.


I perfected my base with a light layer of the Catrice Matt Plus foundation in 010 Light Beige and the Maybelline Fit Me Concealer in 15, all blended in with a damp BeautyBlender. I set everywhere I applied concealer with the Catrice Nude Illusion Loose Powder in Transparent Matt, again with my damp BeautyBlender.


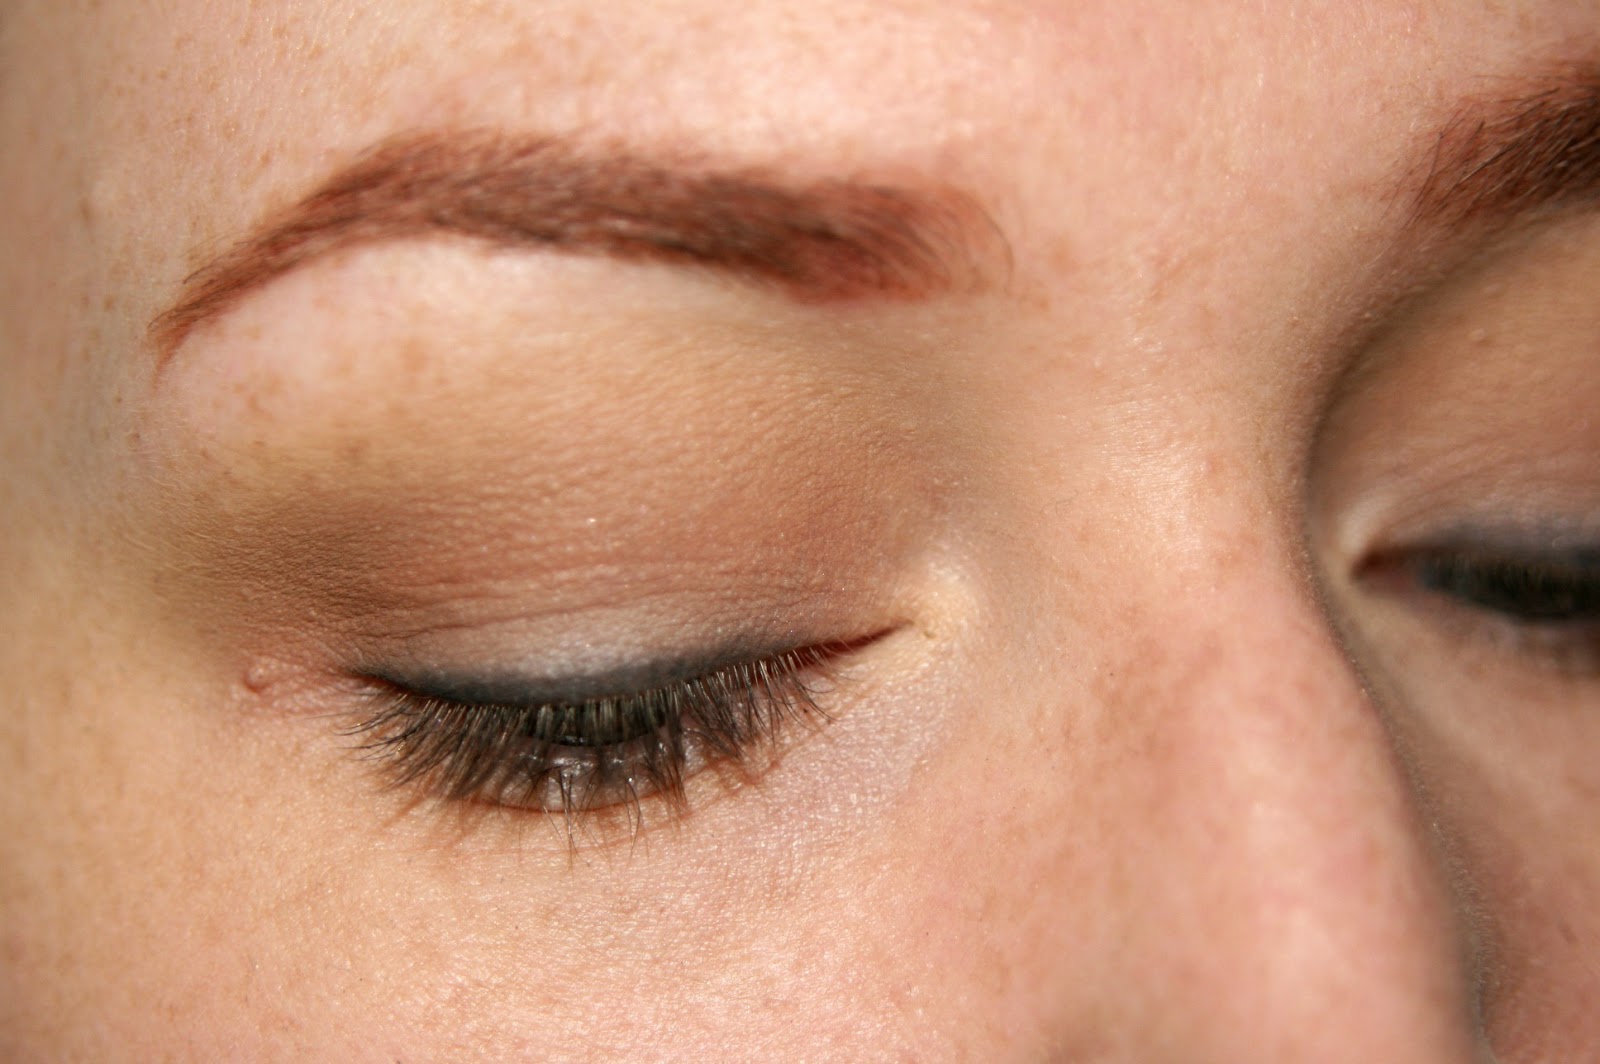
Using a Zoeva Brow Line Brush I defined my entire brow with Urban Decays Buck eyeshadow, going for a very soft front. I defined the tail of my brow with Urban Decays Faint. Then I used NYX Eyeshadow Pencil in Milk in the inner corner of my eye and under my brow. Across my lid I applied Milani Shadow Eyez Pencil in Almond Cream for evening out the colour of my lid.


Mixed on a large shadow brush (from Sigma) I applied Urban Decay Foxy and Walk of Shame across my entire lid, from lashline to browbone. Using a Zoeva Luxe Soft Definer btush I used Naked 2 across my entire crease, for some soft definition. Seeing as the rest of this look is going to be a bit... Bright, I want to keep the lid clean looking.
Are you ready to look nuts with me? Let's do it!

Nothing to do but pulling a silly face when you're looking like this. To make sure my eyeliner ends up being nice and crisp I applied tape to the outer corners of my eyes, following my lower lashline. Imagine that line continues, follow that with the tape and your liner or eyeshadow will look crisp as a winter morning!

Using the NYX Milk pencil from earlier and an angled liner brush, I applied the white cream shadow in a fairly bold cat-wing across my eye. The white base will ensure that our bright shadows will look even brighter. You might notice that mine looks a bit weird, but I have hooded lids and I need to make the wing of my liner fairly wide to have to look somewhat decent when I open my eyes.


With a Zoeva Wing Liner Brush I applied Cricket from the Sleek Ultra Matte Bright palette on the inner part of my lower lashline. To avoid excess fall out, dab the brush onto your lid instead of wiping it. I then applied Dragon Fly from the same palette in the same manner, blending them together and then continuing the line onwards.


Using the bright blue Bolt from the Sleek palette, I fade the green into blue and then move on to my large Boozyshop GIANT palette with every single colour, ever. I use a deep royal blue and fade the bright blue into the deep. Still using dabbing motions, I add a bright purple to the mix, at the very end of the wing of my cat-eye. Once done with the purple, remove the tape and TADAAAAH, a beautiful crisp line. Add NYX Milk to the lower lash-line and let's move on.


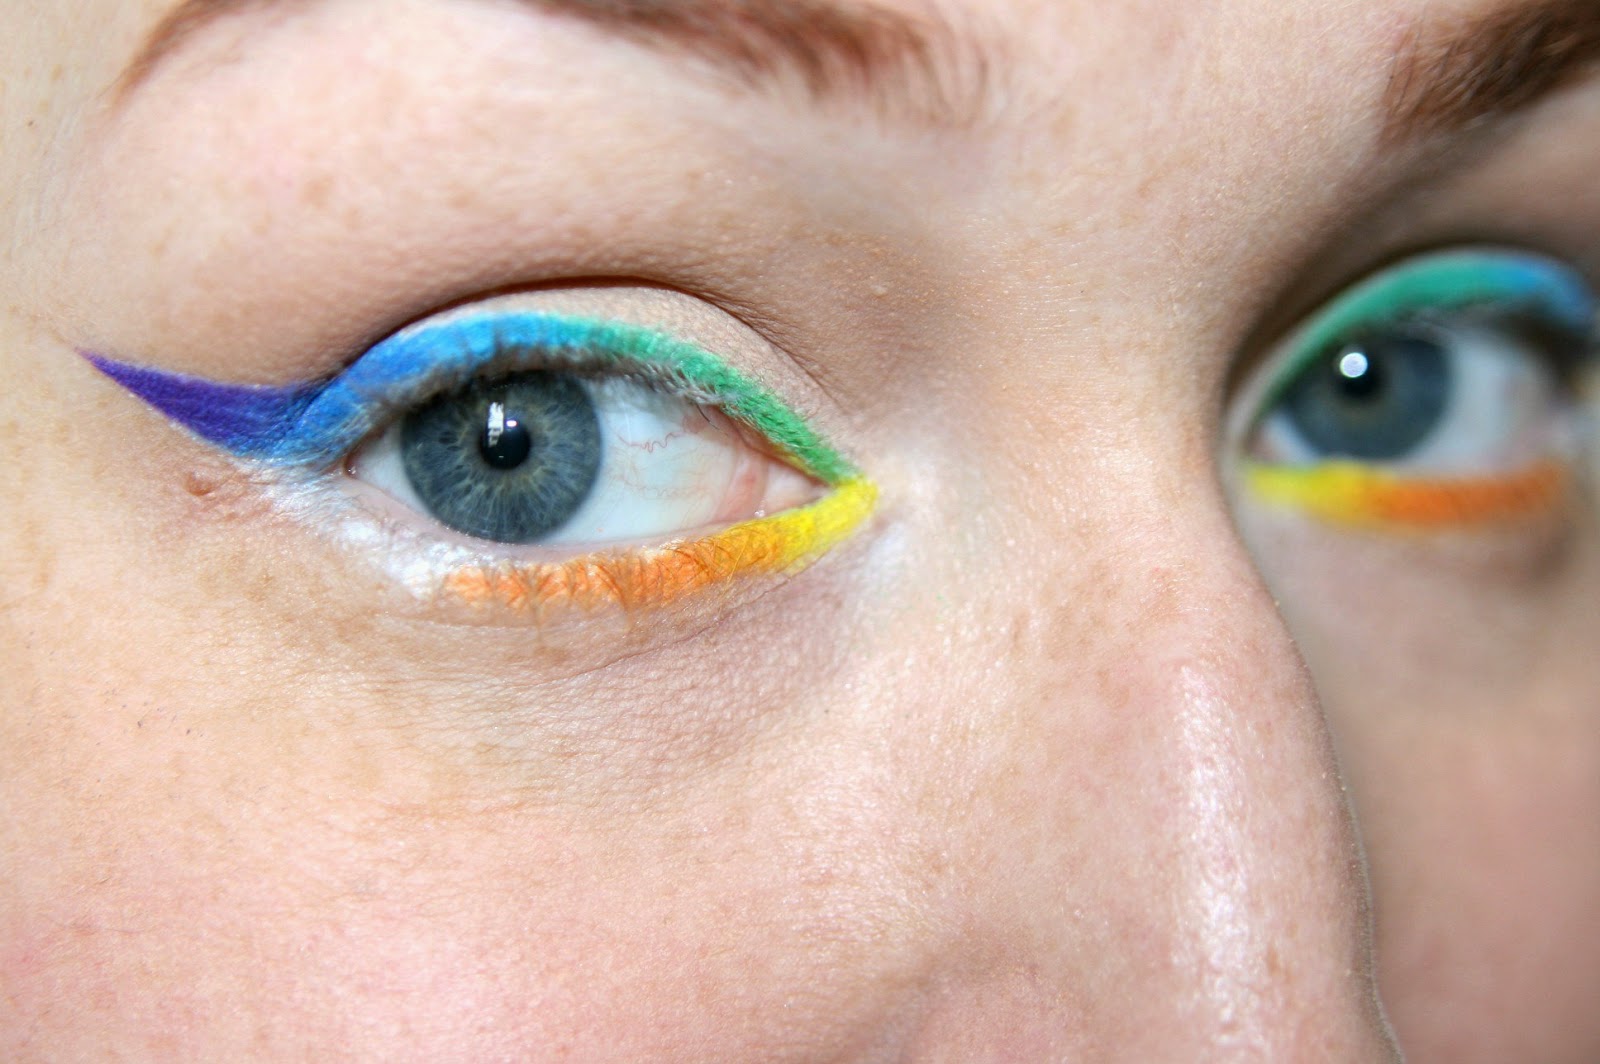
Going back to my trusty Sleek Ultra Matte Bright palette, using a Zoeva Luxe Pencil Brush and the colour Bamm! I apply it to the inner part of the lashline. Then from the same palette and with the same brush, I take Strike and make sure I blend the two together.


Staying with the same pencil brush and palette, I take the bright pink Sugarlite and blend it into the orange and almost to to the outer corner of my eye. I then finish off the lower lash line with a warm red from my Boozy palette.


I finished off the eyes by tightlining with the Rimmel Scandaleyes Waterproof Kohl Kajal in Black, curling my lashes with my Tweezerman lash curlers and applying a few layers of the Maybelline Colossal Waterproof Mascara.


I contoured my cheekbones using NYX Blush in Taupe and warmed up my skin using The Body Shop Bronzer in 02. For Blush I applied Milani Baked Blush in Luminoso. ( SO MUCH LOVE FOR THIS BLUSH! URGH!) And I lightly powdered the rest of my face with the Catrice Nude Illusion Powder.


To keep it light and neutral... HAHAHAHA! Who are we kidding? We got off that train a while ago. To compliment the bright eyes, I went with a beautiful bright lip.The lipstick is Milani Moisture Matte in the colour Matte Orchid. It's a lovely matte formula, that feels like nothing on the lips but has amazing wear and pigment.


And some full face shots of the finished look! This is (for me) not a day to day look, but I would definitely wear this to a day festival or something of that sort.
Would you rock a rainbow look? How would you go about it? Let me know down below. If you have suggestions for other looks as well!
Thank you for reading and untill next time!
XXX
I got new makeup and some new brushes. I played with them and took pictures of it. Let me show you!
WARNING! Very photo heavy post ahead.
After the shower I cleaned my skin with the Garnier Micellaire Water. I then applied the Kruidvat Skin Science Beauty Elixir Serum, the Skin Science Eye Gel, the Neutral Face Cream and the Garnier BB Eye Cream Roller ball and moisturized my lips with my EOS Honeysuckle Honeydew lipbalm.
I perfected my base with a light layer of the Catrice Matt Plus foundation in 010 Light Beige and the Maybelline Fit Me Concealer in 15, all blended in with a damp BeautyBlender. I set everywhere I applied concealer with the Catrice Nude Illusion Loose Powder in Transparent Matt, again with my damp BeautyBlender.
Using a Zoeva Brow Line Brush I defined my entire brow with Urban Decays Buck eyeshadow, going for a very soft front. I defined the tail of my brow with Urban Decays Faint. Then I used NYX Eyeshadow Pencil in Milk in the inner corner of my eye and under my brow. Across my lid I applied Milani Shadow Eyez Pencil in Almond Cream for evening out the colour of my lid.
Mixed on a large shadow brush (from Sigma) I applied Urban Decay Foxy and Walk of Shame across my entire lid, from lashline to browbone. Using a Zoeva Luxe Soft Definer btush I used Naked 2 across my entire crease, for some soft definition. Seeing as the rest of this look is going to be a bit... Bright, I want to keep the lid clean looking.
Are you ready to look nuts with me? Let's do it!
Nothing to do but pulling a silly face when you're looking like this. To make sure my eyeliner ends up being nice and crisp I applied tape to the outer corners of my eyes, following my lower lashline. Imagine that line continues, follow that with the tape and your liner or eyeshadow will look crisp as a winter morning!
Using the NYX Milk pencil from earlier and an angled liner brush, I applied the white cream shadow in a fairly bold cat-wing across my eye. The white base will ensure that our bright shadows will look even brighter. You might notice that mine looks a bit weird, but I have hooded lids and I need to make the wing of my liner fairly wide to have to look somewhat decent when I open my eyes.
With a Zoeva Wing Liner Brush I applied Cricket from the Sleek Ultra Matte Bright palette on the inner part of my lower lashline. To avoid excess fall out, dab the brush onto your lid instead of wiping it. I then applied Dragon Fly from the same palette in the same manner, blending them together and then continuing the line onwards.
Using the bright blue Bolt from the Sleek palette, I fade the green into blue and then move on to my large Boozyshop GIANT palette with every single colour, ever. I use a deep royal blue and fade the bright blue into the deep. Still using dabbing motions, I add a bright purple to the mix, at the very end of the wing of my cat-eye. Once done with the purple, remove the tape and TADAAAAH, a beautiful crisp line. Add NYX Milk to the lower lash-line and let's move on.
Going back to my trusty Sleek Ultra Matte Bright palette, using a Zoeva Luxe Pencil Brush and the colour Bamm! I apply it to the inner part of the lashline. Then from the same palette and with the same brush, I take Strike and make sure I blend the two together.
Staying with the same pencil brush and palette, I take the bright pink Sugarlite and blend it into the orange and almost to to the outer corner of my eye. I then finish off the lower lash line with a warm red from my Boozy palette.
I finished off the eyes by tightlining with the Rimmel Scandaleyes Waterproof Kohl Kajal in Black, curling my lashes with my Tweezerman lash curlers and applying a few layers of the Maybelline Colossal Waterproof Mascara.
I contoured my cheekbones using NYX Blush in Taupe and warmed up my skin using The Body Shop Bronzer in 02. For Blush I applied Milani Baked Blush in Luminoso. ( SO MUCH LOVE FOR THIS BLUSH! URGH!) And I lightly powdered the rest of my face with the Catrice Nude Illusion Powder.
To keep it light and neutral... HAHAHAHA! Who are we kidding? We got off that train a while ago. To compliment the bright eyes, I went with a beautiful bright lip.The lipstick is Milani Moisture Matte in the colour Matte Orchid. It's a lovely matte formula, that feels like nothing on the lips but has amazing wear and pigment.
And some full face shots of the finished look! This is (for me) not a day to day look, but I would definitely wear this to a day festival or something of that sort.
Would you rock a rainbow look? How would you go about it? Let me know down below. If you have suggestions for other looks as well!
Thank you for reading and untill next time!
XXX