Fall has fallen and throughout much of the world, the Halloween hype is raging. I didn't grow up in a country where Halloween was a thing, although I would totally say YES if invited to a Halloween dress-up party. (HINT HINT!)
Since I recently dyed my hair bright red, I got the idea of doing a simple tutorial inspired by my favourite red head baddie, Poison Ivy. This is not a "costume-y" type of makeup, more the type of makeup to use if you want to dress up as Poison Ivy and don't quite know what to do for makeup.

Starting out looking a bit more like her day to day persona, Dr. Pamela Lillian Isley, with a freshly cleansed and moisturized face, let's get started!


We start out with first removing my glasses and put in contact lenses. Makes for easier application and Poison Ivy doesn't wear glasses. She's too cool for that! Or... Something. I then made an equal mix of one part Max Factor Facefinity Foundation in Light Ivory 40, one part Catrice BB Allaround Foundation in 010 Light Beige and my Essence My Base Illuminating Makeup base. The BB cream/foundation and the illuminating base help add a nice glow/shine to my skin and the Facefinity foundation gives me some coverage, which I need.


To fix up my comicbook baddie brows, I first filled them in with MAC Lip Pencil in Cherry and then used two different red tones from my big Boozy Cosmetics P117 palette with an angled brush to set and shade the brows in a bit more. Now, Poison Ivy's actual hair colour is of course a bright red, unlike my dark red hair. If dressing up as her I suggest a bright red wig to go with this and matching your brows to the wig exactly. The exact match will make the look a lot more cartoon-y/comicbook-y.


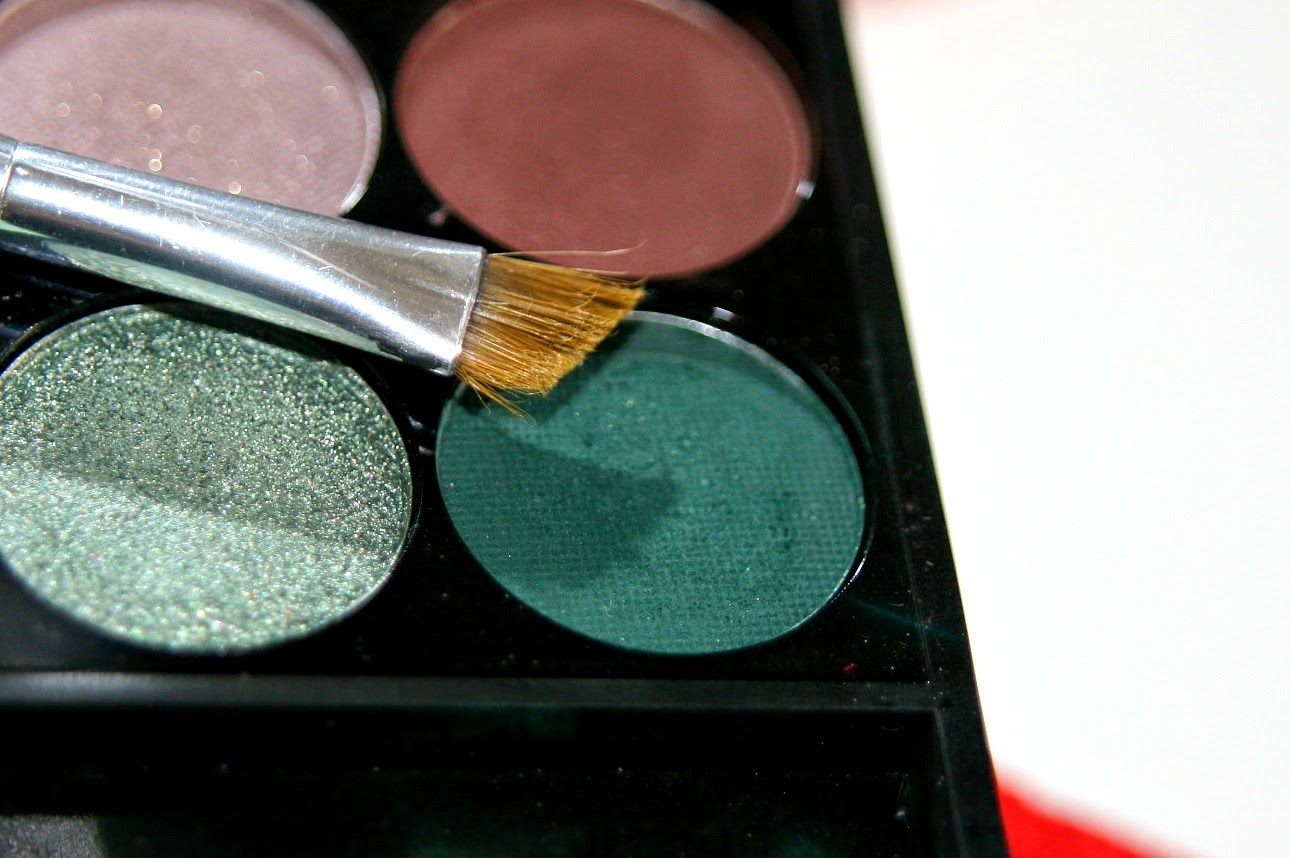
With a large, fluffy blending brush I applied Adam's Apple from the Sleek Garden of Eden palette on and above my crease, leaving my orbital/brow bone bare. Any matte minty green will do!


Using a flat shader brush, I applied a bright grass green with a golden shimmer across my mobile lid. This colour was also in my Boozy Cosmetics palette.


Going back into the Sleek Garden of Eden palette, I applied Tree of Life on the outer "V" shape of my eye with a tapered crease brush. This just intensifies the look and gives it a bit more OOMPH!


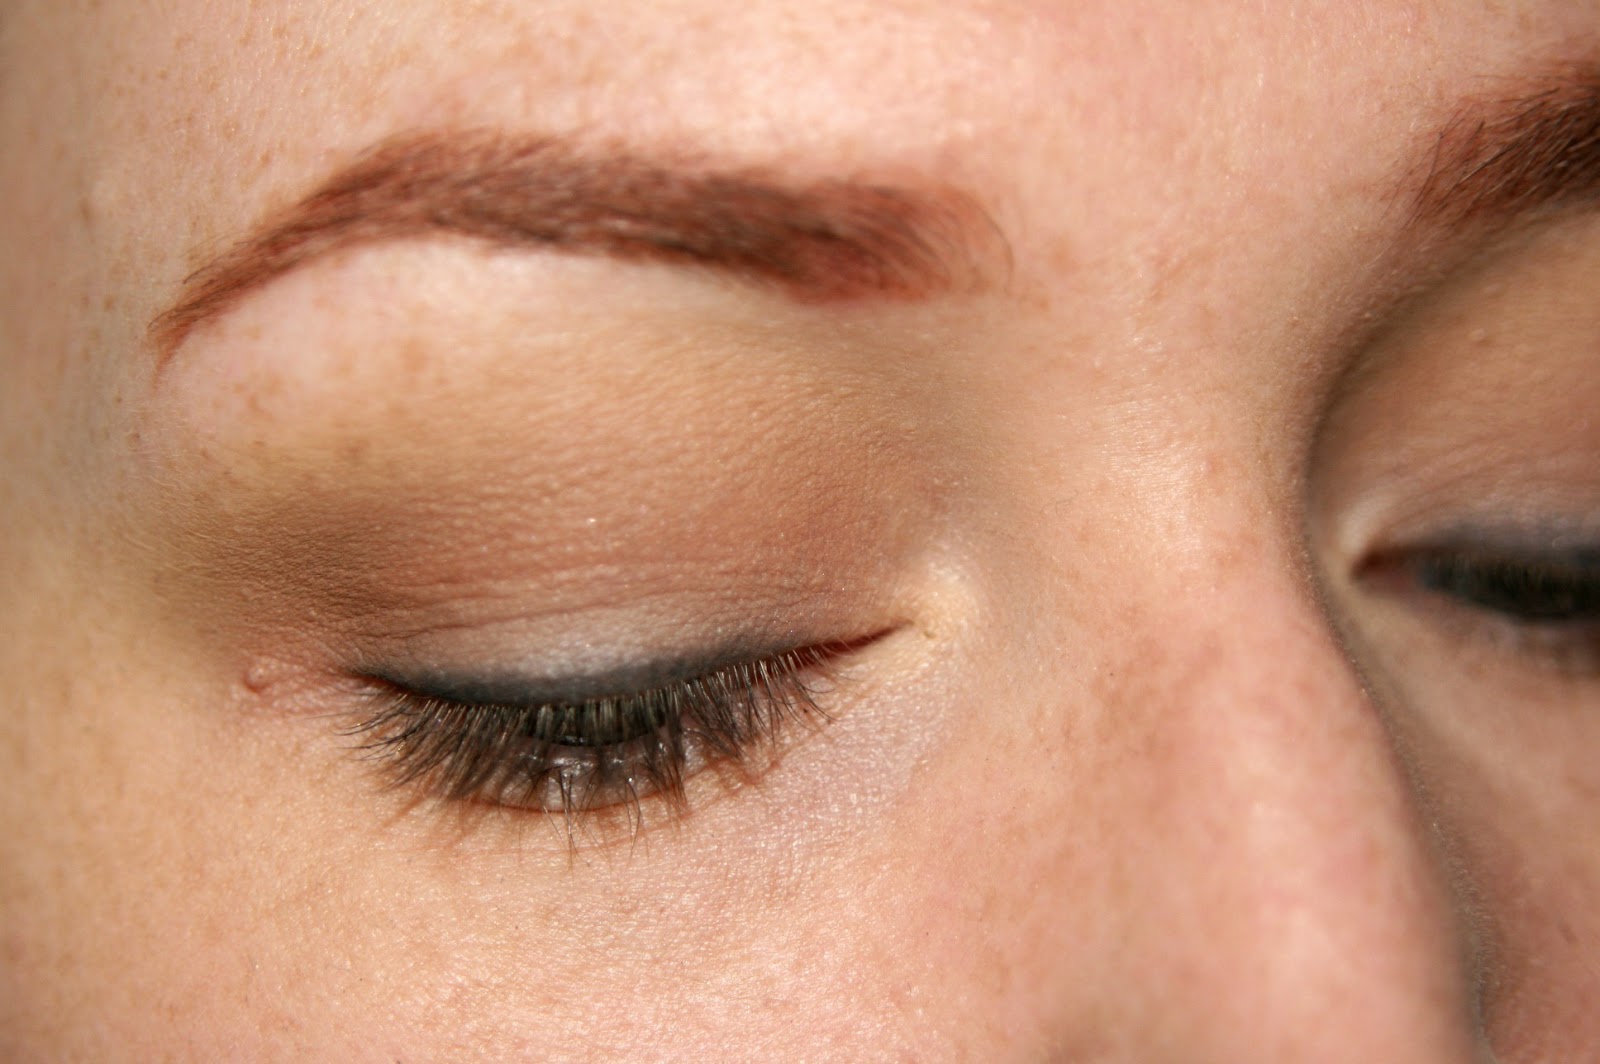
Using a fluffy paddleshadped brush, I applied a light, shimmery mint green to my inner corners and all over my browbone. I would normally NEVER wear something this shimmery on the browbone, as I personally just do not like that look normally, but seeing as this is a look for dressing up, I felt the green glow just added a nice touch. It IS Poison Ivy afterall. As you can tell on the latest picture, I also used the matte grass green and matte dark green along my lower lashline. I only the used the dark green on the outer third of the lower lid.


Using Tree of Life from the Sleek palette on an angled brush, I lined my upper lashline. I then tightlined both my upper and lower water line using Aparthy 24/7 Eye Pencil by Urban Decay, which is a nice dark green.


I contoured using NYX Blush in Taupe, used Catrice Illuminating Blush in 020 Coral Me Maybe (definitely not a coral, more of a peachy pink) and highlighted all the high points of my face using a light, mint green from my MUA Eyeshadow Palette in Pretty Pastels. It is not very obviously green on the face, but it's a slight green sheen when in direct sunlight, so seemed appropriate!

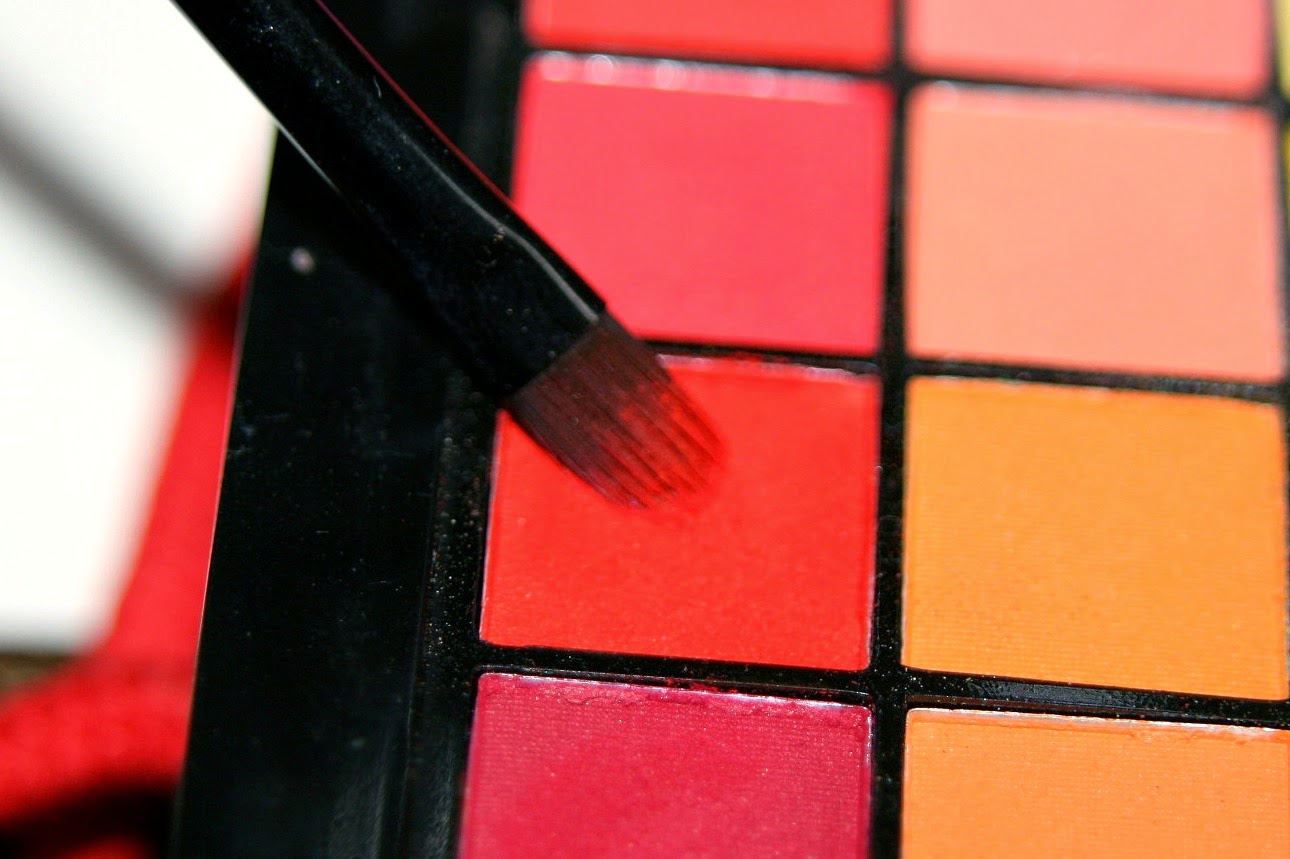

For the lips, I layered two different Rimmel Lasting Finish by Kate Moss Lipsticks. I layered two different reds on top of each other, in the colours 01 and 10, to get the colour I wanted. To mattify the lips I applied one of the red shadows I also used on my brows all over the lips. This also helps the lipstick stay on for longer. The matter, the better. Perfect for that famous, deadly kiss!


The finished result! Pair with either a full on Poison Ivy costume OR with a pair of glasses, a labcoat, greens shirt and a brown/black pencil skirt for a Dr. Pamela Lillian Isley costume, both with a bright red wig.
Unfortunately, I won't be going to any Halloween parties, but I will be doing a few more tutorials that are inspired by popular costumes.
Are you going to a Halloween party? What are you dressing as? Let me know!
Thank you for reading!
XXX
Since I recently dyed my hair bright red, I got the idea of doing a simple tutorial inspired by my favourite red head baddie, Poison Ivy. This is not a "costume-y" type of makeup, more the type of makeup to use if you want to dress up as Poison Ivy and don't quite know what to do for makeup.
Starting out looking a bit more like her day to day persona, Dr. Pamela Lillian Isley, with a freshly cleansed and moisturized face, let's get started!
We start out with first removing my glasses and put in contact lenses. Makes for easier application and Poison Ivy doesn't wear glasses. She's too cool for that! Or... Something. I then made an equal mix of one part Max Factor Facefinity Foundation in Light Ivory 40, one part Catrice BB Allaround Foundation in 010 Light Beige and my Essence My Base Illuminating Makeup base. The BB cream/foundation and the illuminating base help add a nice glow/shine to my skin and the Facefinity foundation gives me some coverage, which I need.
To fix up my comicbook baddie brows, I first filled them in with MAC Lip Pencil in Cherry and then used two different red tones from my big Boozy Cosmetics P117 palette with an angled brush to set and shade the brows in a bit more. Now, Poison Ivy's actual hair colour is of course a bright red, unlike my dark red hair. If dressing up as her I suggest a bright red wig to go with this and matching your brows to the wig exactly. The exact match will make the look a lot more cartoon-y/comicbook-y.
With a large, fluffy blending brush I applied Adam's Apple from the Sleek Garden of Eden palette on and above my crease, leaving my orbital/brow bone bare. Any matte minty green will do!
Using the same brush I applied a matte, bright grass green from my Boozy Cosmetics palette throughout my crease and blended it up into the mint green.
Using a flat shader brush, I applied a bright grass green with a golden shimmer across my mobile lid. This colour was also in my Boozy Cosmetics palette.
Going back into the Sleek Garden of Eden palette, I applied Tree of Life on the outer "V" shape of my eye with a tapered crease brush. This just intensifies the look and gives it a bit more OOMPH!
Using a fluffy paddleshadped brush, I applied a light, shimmery mint green to my inner corners and all over my browbone. I would normally NEVER wear something this shimmery on the browbone, as I personally just do not like that look normally, but seeing as this is a look for dressing up, I felt the green glow just added a nice touch. It IS Poison Ivy afterall. As you can tell on the latest picture, I also used the matte grass green and matte dark green along my lower lashline. I only the used the dark green on the outer third of the lower lid.
Using Tree of Life from the Sleek palette on an angled brush, I lined my upper lashline. I then tightlined both my upper and lower water line using Aparthy 24/7 Eye Pencil by Urban Decay, which is a nice dark green.
I contoured using NYX Blush in Taupe, used Catrice Illuminating Blush in 020 Coral Me Maybe (definitely not a coral, more of a peachy pink) and highlighted all the high points of my face using a light, mint green from my MUA Eyeshadow Palette in Pretty Pastels. It is not very obviously green on the face, but it's a slight green sheen when in direct sunlight, so seemed appropriate!
For the lips, I layered two different Rimmel Lasting Finish by Kate Moss Lipsticks. I layered two different reds on top of each other, in the colours 01 and 10, to get the colour I wanted. To mattify the lips I applied one of the red shadows I also used on my brows all over the lips. This also helps the lipstick stay on for longer. The matter, the better. Perfect for that famous, deadly kiss!
The finished result! Pair with either a full on Poison Ivy costume OR with a pair of glasses, a labcoat, greens shirt and a brown/black pencil skirt for a Dr. Pamela Lillian Isley costume, both with a bright red wig.
Unfortunately, I won't be going to any Halloween parties, but I will be doing a few more tutorials that are inspired by popular costumes.
Are you going to a Halloween party? What are you dressing as? Let me know!
Thank you for reading!
XXX