Monday, September 22, 2014

Tutorial: Dark smokey eye using the Urban Decay Vice 2 Palette

I realised that I had never gotten around to doing a tutorial with the Urban Decay Vice 2 Palette. The options are plentiful, but for today I went with a dark, satin smokey eye. I will most likely do some more with this palette, as the colours are very appropriate for fall.


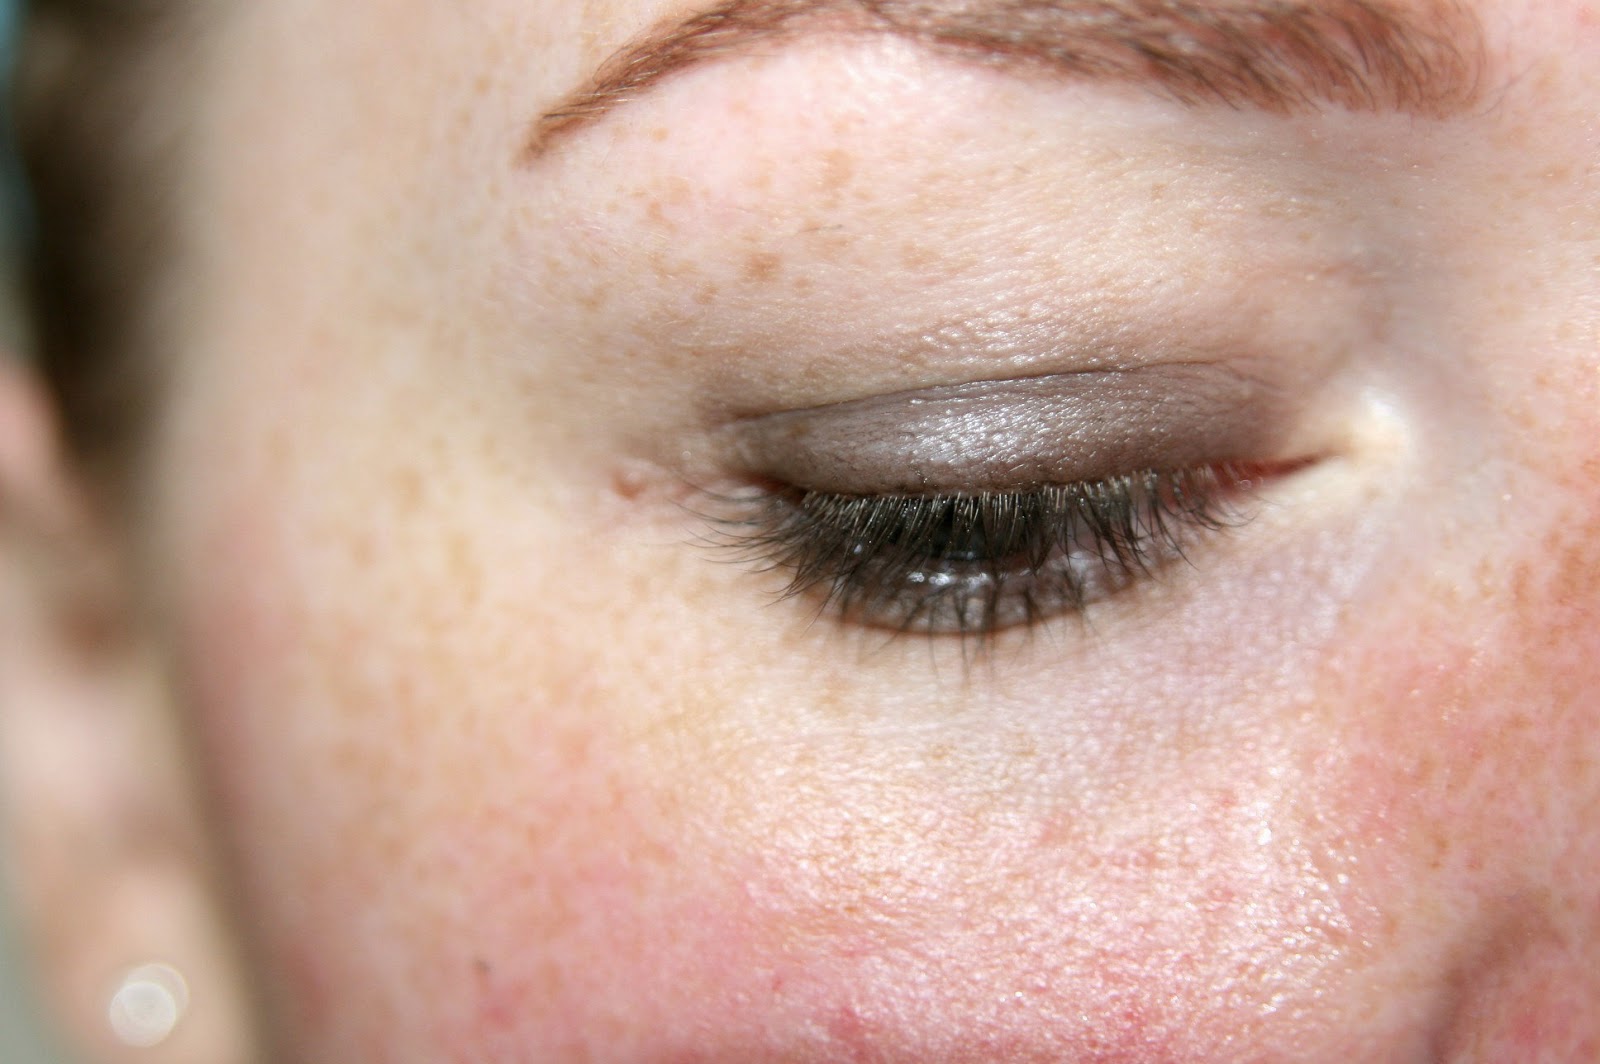
Naked face alert! My skin is sort of behaving at the moment, so I didn't mind putting up a naked face picture. You can tell I have some hyper-pigmentation and some overall redness going on. Not to mention blotchiness and small impurities throughout. Oh well, that's what makeup is for!


Today we will start off a bit differently than I normally do my makeup, as we will be working with dark colours. I did my brows using a Catrice Eyebrow Pencil in Date With Ashton and Urban Decays Buck eyeshadow, from the first Naked Palette. I primed my eyelids with Urban Decay Eyeshadow Primer Potioin in Eden.


Seeing as the eyeshadow will be very dark and intense, I started off doing my eyes first. I applied Nyx Jumbo Eye Pencil in Dark Brown along my upper and lower lashline and blended it out with my finger. This helps create a dark base for the eyeshadow to layer upon, helping to create an even darker and more intense look.


I applied Habit from the Vice 2 palette with a fluffy blending brush throughout the socket of my eye and all the way up around my orbital bone. This helped warm up the skin a little and obviously also will help me blend out the darker colours. And we all know that blending is key!


I then went on to apply Rewind from the same palette with a slightly less fluffy blending brush throughout my crease, working down towards the lid. This is once again to help transition from dark to light. Always start with the lighter colours and work to dark and not the other way around, you will just end up with a messy un-blended mess on your eyes.


With a flat shader brush I applied Smokeout from Vice 2 on my entire moving lid. Make sure you apply, blend, apply and blend until you have to look/finish/blend that you want. But layers are certainly key, as well as blending.


Then it was time for foundation. Before applying my foundation I made sure to clean up under my eyes using a makeup wipe, as there was a little fall out. And this is exactly why I did my eyes first, dark eyeshadow is a BITCH to correct. The foundation I used was Catrice All Matt Plus 010 Light Beige. I applied this with a damp Real Techniques Miracle Complexion Sponge. This is, for me, a step up from the Beauty Blender, and it only costs a fourth of the Beauty Blender!


Apply concealer where needed! I used a mix of Maybelline Fit Me Concealer in 10 and Maybelline Dream Lumi Touch Concealer in 01. For blemishes and redness I only used the Fit Me and for everything else I mixed them on the back of my hand, applied them with the Fit Me applicator and blended everything in using the sponge I used for my foundation. After finishing the blending of the concealer, I applied Smokeout to my lower lashline and lightly blended it using Rewind.


For contouring I used Nyx Powder Blush in Taupe. I applied this underneath my cheekbones, underneath my chin and along my jawline with a Real Techniques Setting Brush. To warm up the skin, I applied my The Body Shop Honey Bronze Bronzer in 02 along my forehead, on my temples, under my cheek bones and along my jawline. I did countour a bit heavier than I normally do today, as I figured this is very much an evening look. I also applied Urban Decay 24/7 Eyeliner in Black Market to my upper and lower waterline.


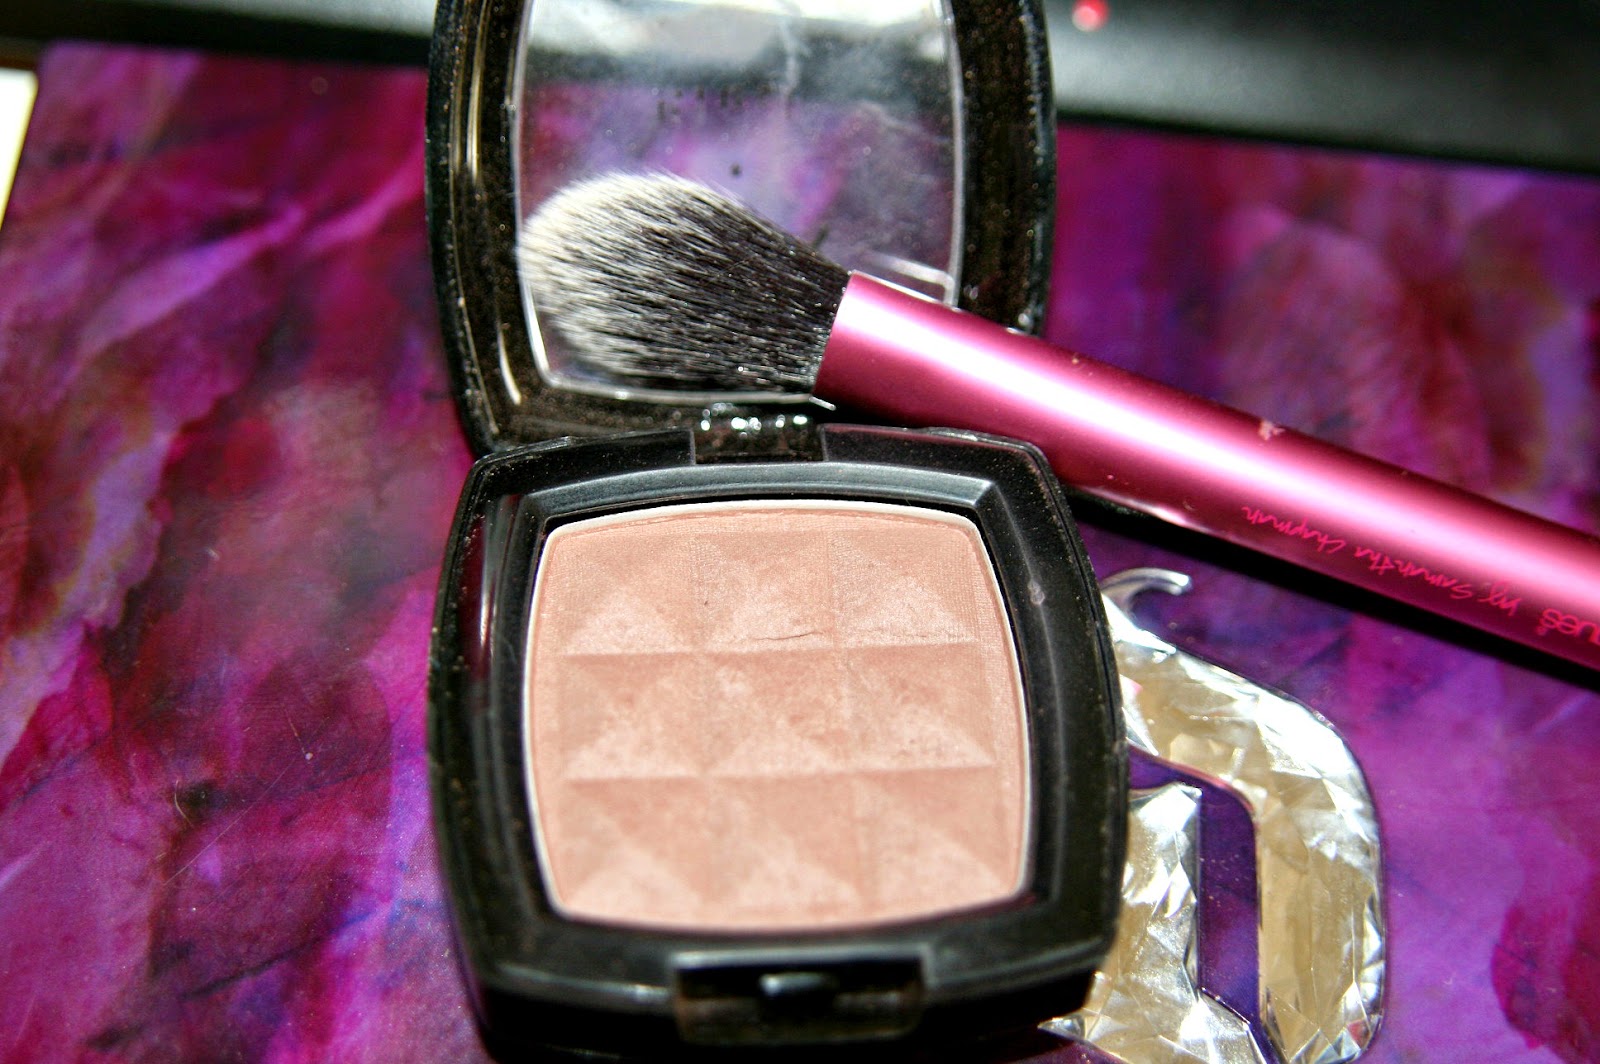
Along my cheekbones I applied Nyx Powder Blush in Peach with the Real Techniques Blush Brush.


To finish off the skin I applied my MAC Mineralize Skinfinish in Soft and Gentle on the tops of my cheekbones and on the inner corners of my eyes with the Real Techniques Setting Brush.


For my lips I used the new Maybelline Colour Drama Intense Velvet Lip Pencil in 630 Nude Perfection. (PHEW, what a mouthful!) These are a beautiful, smooth, matte formula. Check them out of you love a matte lip.


To finish off the eyes, I curled my lashes using my Tweezerman Lash Curlers and applied a generous amount of Maybelline The Rocket Volum' Express Waterproof Mascara. If using this for a special event or a night out, I would certainly pair this with some voluminous false lashes.


The finished result! I powdered my face off using the Essence Stay Matte Translucent Powder. This look is a little out of my comfort zone, but I do think I need to start wearing darker eye-looks more often. I like it! This might very well be the makeup I wear when I go to a Poets of the Fall concert next month.

I hope you enjoyed this tutorial, if you have any specific types of looks you'd like me to do, let me know!

Thank you for reading.

XXX

Tuesday, September 9, 2014

Tutorial: Urban Decay Naked 3 Evening Look

As promised, I messed around with the Naked 3 a little and made a tutorial. Stay tuned for a sexy, smokey evening look!


I started out with most of my base done. Foundation was Catrice Matt Plus, concealer was Maybelline SuperStay 24h. Brows were Urband Decay Naked and Buck from the first Naked Palette. To get the full Naked 3 experience I didn't apply a primer of my own, but used one from the sampler pack I got with the palette.


I applied the Eden primer all over my eyelid with my ringfinger and as you can tell it has some coverage and also, due to the yellow tint, helps cancel out the purple hues I have on my eyelid. It was my first time working with a base like this, so I didn't apply it fantastically. But now I'm prepared for next time. It creates a very nice, blank canvas on the lid to work on.


I applied Strange on my browbone and in my inner corner with a large shader brush. I then did a light wash of it all over the lid, just to make sure everything else would blend properly.


With a fluffy blending brush, I applied Limit in my crease and blended it upwards. This gives some slight definition and will help darker colours blend in more smoothly later on.


I then applied Nooner on the outer corner of my lid with a tapered crease brush. I also used this colour to further deepen up the crease. Layers of colours help create more dimension to the look.


I got some Burnout on a flat shader brush and applied this all over my lid for a nice base of shimmer. If you're looking for a day/office appropriate look, feel free to stop here, apply liner of your choice, mascara and you're good to go!


With the same brush I applied Buzz to the outder 2/3rds of my eyelid. It's a very subtle difference, but Buzz is a smidge darker and catches the light better. Again, it's all about the layers!


I flipped the very same brush over, to use the clean (-ish) side to apply Factory to the outer 3rd of my eyelid. It had a tiny bit of fallout, but nothing a fan brush didn't fix in a jiffy!


I then used a pencil brush to apply Blackheart in the most outer corner of my lid and blend it into the crease a little. Trick to this colour is really tapping off excess product, I barely had any fallout with it.


With an angled eyeliner brush I then applied Blackheart along my upper lashline and continued to apply Buzz, Factory and Blackheart on my lower lashline. Going from lightest to darkest from the inner corner.


I finished off the eyes with a black L'Oreal Kohl liner and Maybelline The Rocket Waterproof mascara.


On the rest of my face I used NYX Taupe blush to contour (very lightly), a very light handed application of The Body Shop Honey Bronzer (02), Kiko Rock Attraction Blush in 04 Pop Apricot and my Dio Shimmer Powder in Diamond Rose. On the lips I used Essence Long Lasting Lipstick in 07 Natural Beauty.

This is, for me at least, very much a date/evening look. I tend to go more neutral during the day, which is also very well doable with this palette... But I wanted to do something a little different.

I hope you enjoyed this tutorial, if you did feel free to share it with other make-up enthusiasts!

Thank you for reading!

XXX

Friday, September 5, 2014

Review: Urban Decay Naked 3 Palette

Today, I will be sharing with you my thoughts on the Urban Decay Naked 3 Palette. I'm a little late to the party, but I have been lusting after this for months without being able to afford it and out of nowhere a package from BeautyBay arrived. Turns out it was from my mother and she felt like spoiling me. You won't hear me complain, thanks Mom! 


This is the beauty that arrived on my doorstep today. The packaging already is beautiful. It's a rose/beige gold with antique gold lettering. Got to love a flashy palette like this.


The palette itself is the same colours. Unlike the Urban Decay Naked (1) this has the same tin packaging as the Naked 2 palette. It seems sturdier than the first one and certainly more travel friendly. It comes with a double ended brush, that in a pinch could easily be used for a look. I prefer to have several brushes and would definitely prefer to have a blending brush along with this, but I can make this work. It's a flat paddle style brush on one end and a crease type brush in the other. They are synthetic, and as always everything by Urban Decay is cruelty free.


As always with a Naked Palette, it came with an extra. This is a sample selection of their eyeshadow primers, each with different effects. Each sachet contains about a weeks worth of primer.


Let's get down to the important part! The shadows. The palette contains 12 shadows, 3 (and a half!) matte, the rest are shimmery or glittery. Urban Decay have a reputation for making incredible palettes and this one certainly delivers. The palette is overall rosey/mauve toned and goes very well with most complexions, especially paler ladies like myself.

Swatch-a-palooza!


L-R: Strange, Dust, Burnout.


Strange is a creme-white shade, with a touch of pink. It is a very smooth, matte texture.

Dust is light, warm pink with micro-glitter. Has a slightly dry texture and seems fallout prone.

Burnout is a rosey peach colour with a beautiful pearl finish. Very pigmented.


L-R: Limit, Buzz, Trick.
Limit is a dusty rose/mauve colour. Very smooth, matte texture. Very blendable.

Buzz is a warm, coppery rose colour with a metallic finish. Buttery smooth texture on this baby.

Trick is a rosey bronze with a metallic finish. Very pigmented, very smooth.


L-R: Nooner, Liar, Factory.

Nooner is a warm/rose mid-brown colour. Matte and smooth. (And I love the name!)

Liar is a bronze-brown. Metallic and once again smooooooth as a babys bottom!

Factory is a medium-dark brown with red undertones. Shimmery and highly pigmented.


L-R: Mugshot, Darkside, Blackheart.

Mugshot is a warm, metallic taupe. Absolutely stunning colour.

Darkside is a cool, mushroom toned taupe. Metallic and smooth, but somehow seems slightly less pigmented than the others. Still a pretty shade.

Blackheart is a matte, dark burgundy with red glitters in it. Seems fallout prone and not as pigmented as I have come to expect from Urban Decay matte shadows.


Conclusion: I AM IN LOVE, YA'LL! Everything in this palette goes well with my complexion and eye colour, everthing (except Blackheart and Dust) is amazingly pigmented and blends like a dream.  I have yet to put the shadows on my eyeballs, but I will hopefully make a tutorial using this sometime soon. I can see myself using this palette for both everyday, neutral looks and for going all-out smokey. This gets two thumbs up from me!


Pros:
  • Pigmentation, blendability and overall quality of the shades is incredible.
  • Finally a matte highlighter in a palette, HALLELUJAH!
  • Would work on skintones ranging from very fair to very deep.
  • Packaging is, besides beautiful, very travel friendly.
  • Since it's Urban Decay, it's cruelty free. If you want to know more about Urban Decays cruelty policy, click here.
Cons:
  • Availability, as always with Urban Decay, it's not available in Holland and must be ordered from outside the country.
  • The pricetag of €47.70 might be a bit of an issue, if like me, you simply don't have that kind of money to spend. IF you do, I feel this is well worth the splurge, though.

Have you purchased this palette? Are you lusting after it as bad as I was? Where do you buy Urban Decay?  Let me know in the comments down below!

I know, I know. It's been forever ( like 9 months. SURPRISE I HAD A BABY! No, I didn't. Don't worry.) Life has been happening, I had my surgery. Would you like to know more about my Gastric Bypass experience? Let me know!

Thank you for reading and untill next time!

XXX