Showing posts with label The Body Shop. Show all posts

Tuesday, September 9, 2014

Tutorial: Urban Decay Naked 3 Evening Look

As promised, I messed around with the Naked 3 a little and made a tutorial. Stay tuned for a sexy, smokey evening look!


I started out with most of my base done. Foundation was Catrice Matt Plus, concealer was Maybelline SuperStay 24h. Brows were Urband Decay Naked and Buck from the first Naked Palette. To get the full Naked 3 experience I didn't apply a primer of my own, but used one from the sampler pack I got with the palette.


I applied the Eden primer all over my eyelid with my ringfinger and as you can tell it has some coverage and also, due to the yellow tint, helps cancel out the purple hues I have on my eyelid. It was my first time working with a base like this, so I didn't apply it fantastically. But now I'm prepared for next time. It creates a very nice, blank canvas on the lid to work on.


I applied Strange on my browbone and in my inner corner with a large shader brush. I then did a light wash of it all over the lid, just to make sure everything else would blend properly.


With a fluffy blending brush, I applied Limit in my crease and blended it upwards. This gives some slight definition and will help darker colours blend in more smoothly later on.


I then applied Nooner on the outer corner of my lid with a tapered crease brush. I also used this colour to further deepen up the crease. Layers of colours help create more dimension to the look.


I got some Burnout on a flat shader brush and applied this all over my lid for a nice base of shimmer. If you're looking for a day/office appropriate look, feel free to stop here, apply liner of your choice, mascara and you're good to go!


With the same brush I applied Buzz to the outder 2/3rds of my eyelid. It's a very subtle difference, but Buzz is a smidge darker and catches the light better. Again, it's all about the layers!


I flipped the very same brush over, to use the clean (-ish) side to apply Factory to the outer 3rd of my eyelid. It had a tiny bit of fallout, but nothing a fan brush didn't fix in a jiffy!


I then used a pencil brush to apply Blackheart in the most outer corner of my lid and blend it into the crease a little. Trick to this colour is really tapping off excess product, I barely had any fallout with it.


With an angled eyeliner brush I then applied Blackheart along my upper lashline and continued to apply Buzz, Factory and Blackheart on my lower lashline. Going from lightest to darkest from the inner corner.


I finished off the eyes with a black L'Oreal Kohl liner and Maybelline The Rocket Waterproof mascara.


On the rest of my face I used NYX Taupe blush to contour (very lightly), a very light handed application of The Body Shop Honey Bronzer (02), Kiko Rock Attraction Blush in 04 Pop Apricot and my Dio Shimmer Powder in Diamond Rose. On the lips I used Essence Long Lasting Lipstick in 07 Natural Beauty.

This is, for me at least, very much a date/evening look. I tend to go more neutral during the day, which is also very well doable with this palette... But I wanted to do something a little different.

I hope you enjoyed this tutorial, if you did feel free to share it with other make-up enthusiasts!

Thank you for reading!

XXX

Thursday, September 12, 2013

Glamourous Evening Look w/ Red Lip!

Hi!
Long time, no see! Again. I'm a bad blogger and I should feel bad. Oh well, such is the price of blogging just to blog, I guess. If I don't feel like blogging, I won't blog about anything.

Anyways, I felt it was time for another tutorial and I haven't done one with a classic red lip yet, so here it is!


No naked face today, my skin was being a b*tch and I just couldn't deal with it. Thanks hormones. I moisturized and applied Max Factors Facefinity foundation in a 3/2 mix of Nude 47 and Light Ivory 40. In the middle of summer I got away with just using Nude 47, but I'm already getting paler again so had to mix in a little of the lighter foundation. I also primed my eyelids and brows using Too Faced Shadow Insurance. I also prepped my lips with Elizabeth Ardens 8 Hour Cream.


I concealed with the Catrice Camouflage Cream in 010 Ivory and did my eyebrows using Urban Decays Naked eyeshadow from the original Naked Palette. I set my brows with my Hema Browgel in Brown.


 For some light definition on my upper lid, I applied Urban Decays Naked 2 (Naked Basics) with a large fluffy blending brush. It helps create a nice gradient from a deeper crease colour and I like the definition it gives.


To deepen up my crease and outer corner of my eye, I applied Urban Decays Faint (Naked Basics) with a smaller blending brush (MAC 217) . I also applied this along my lower lashline with a pencilbrush.


For a neutral, but shimmery, lid colour I chose MAC Mineralize Skinfinish in Soft & Gentle. This is in theory a highlight, but the neutral colour of it makes it perfect for a bold lip, of any tone. I applied this with my finger for optimal intensity. I also used this on the inner corner of my eye.


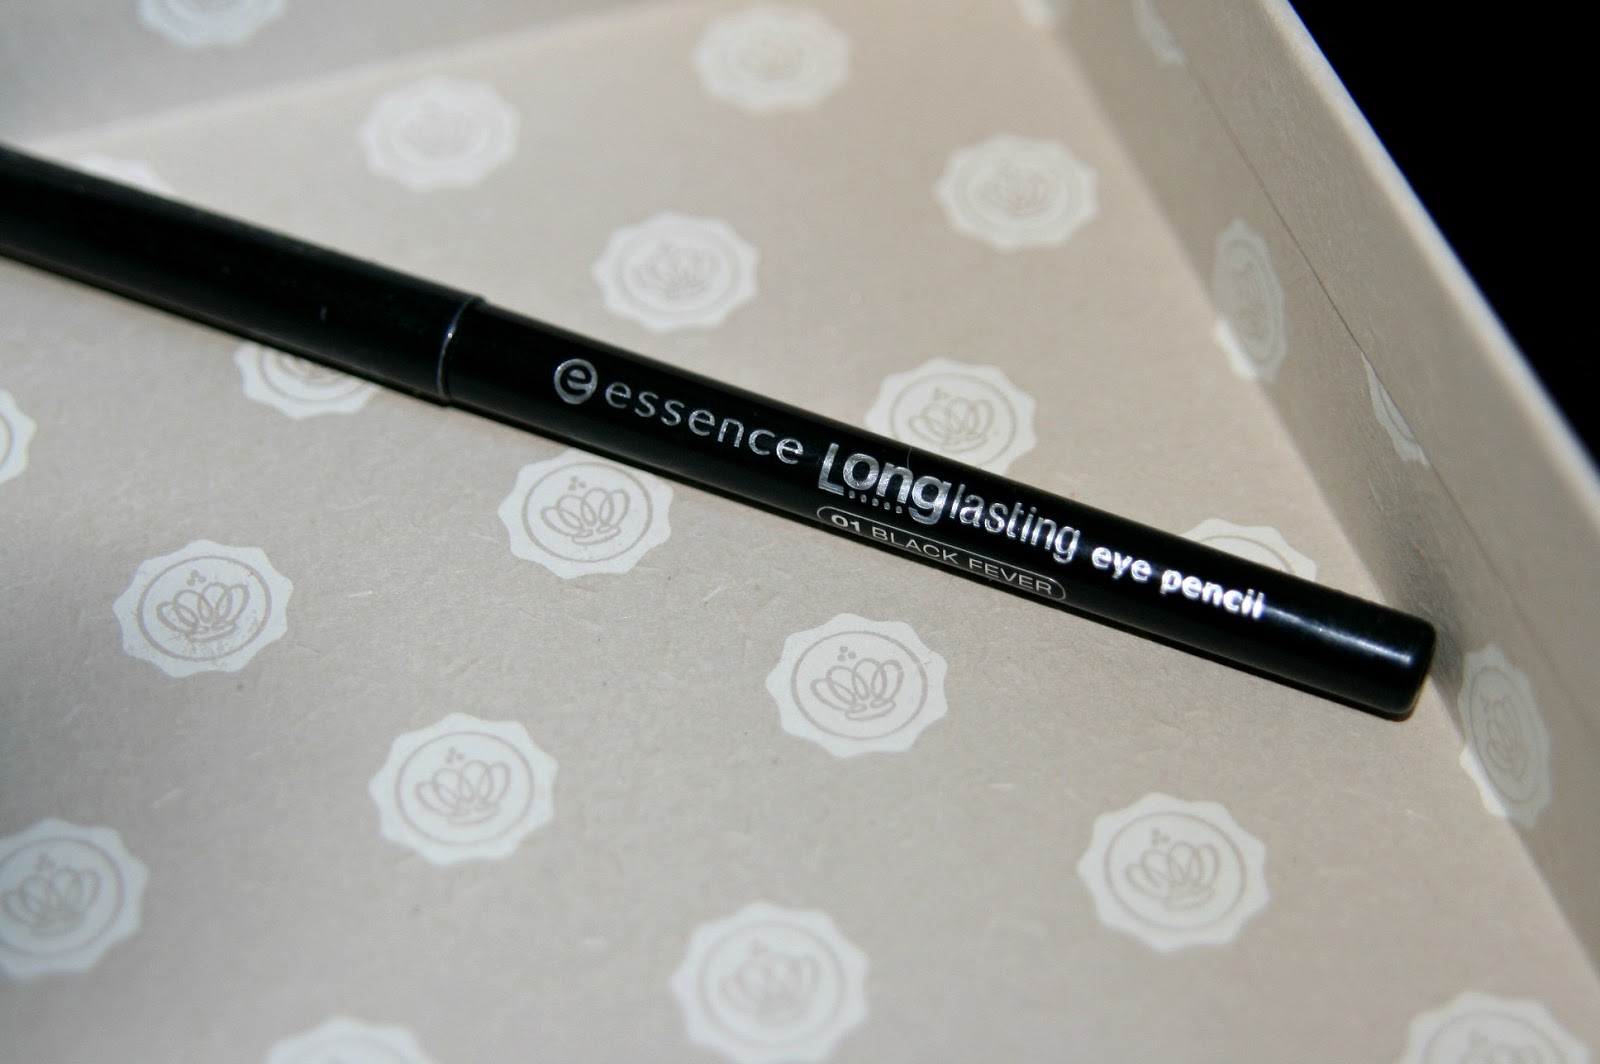
For a fool-proof longlasting eyeliner, I firts lined my upper lashline with Essence Longlasting Eyepencil in 01 Black Fever. To make sure it didn't budge, I took an angled liner brush and topped it off with Urban Decays Crave (Naked Basics). I did a very simple liner with this look, just because it's what I felt like. I wanted the lip to the focus, but if you want you could totally do a winged cat-liner with this!


To finish off the eyes, I used MAC Chromographic Pencil in NC 15/NW 20, curled my lashes and applied a generous amount of Essence I <3 Extreme Crazy Volume Mascara.


I powdered my skin off, using Rimmels Stay Matte Powder in Peach Glow. To define my face, I applied The Body Shops Honey Bronzer in 02 in the "hollows" of my cheeks. At least to sort of make it look like they're there! For a touch of colour on the cheeks, I used Benefits Coralista Blush. It's a warm coral with a gold shimmer. To top off all the shimmer, I used MAC Mineralize Skinfinish in Soft & Gentle on the tops of my cheekbones. For day time wear, I'd probably skip this much shimmer and either go for a matte blush or no highlighter, but this was intented for evening wear, so I went with it!


Now for the focus of the look, a classic red lip! Make sure you moisturize your lips beforehand and blot this off before you start on your lips. To create the perfect, long-lasting red lip, you should always use a lipliner first. The completely matte finish of this helps the lipstick stay on longer, and also makes sure that should the lipstick start to fade, it doesn't show. I used MAC Lip Pencil in Cherry and first lined my lips, taking care to be VERY precise with it. After I had lined them and I was happy with that, I completely filled my lips in with the pencil. A lipliner also ensures that your lip colour doesn't "bleed" into fine lines around your lips, should you have this problem.


Now comes the hard part of a red lip. Now, I personally believe that there is a right red for everyone out there, it's just a question of the tone of the red. As they go from very bright orange-red to deep blue toned reds to berry/purple reds. If you really want to perfect the red lip and don't know what suits you, try going to a MAC makeup counter and have someone there help you out. I pretty much know what suits me, and can therefore swatch things in a store and know if it works for me or not. The colour I used today is from the Lasting Finish by Kate Lipstick in 10 from Rimmel. The line has two reds, this is a very neutral red, and will look good on most people of any skintone or -colour. For precise and long lasting applications I used a lipbrush.


The catch to making a lipstick last forever is partially the formula. The matter the formula, the longer it will stay. This formula is very longwearing, but not completely matte. To get ultimate wear of it, I applied a coat of lipstick with the brush and then blotted it on some tissue. This will remove excess product that would either end up on your teeth, on your glass or outside your lips. I then applied a second layer with the brush and blotted it too, applied a third layer directly from the lipstick bullet and this will last through an entire evening (if you don't eat too fatty, at least, as the oils will break down the lipstick). If you want, you can apply a gloss, but gloss will limit the longevity of the lipstick.


And here's the result. A very classic look, but suited for most evening events and will look perfect with your Little Black Dress. I love wearing a bright red lip, it makes me feel very feminine and sexy. Do you ever wear a red lip? If so what is your favourite? If not, why not? Let me know down below!


As a small extra, here's pictures of all the products I used, brushes excluded.


Thank you for reading and untill next time!

XXX