GASP! It's another Halloween post, what is this?! I guess I got a little into it. Let's jump right in!


For a perfect base I applied two layers of foundation, I mixed my Facefinity in Light Ivory and my All Matt Plus in Light Beige. Jessica being a cartoon AND a performer, you kind of need to go all out with your base. I concealed my face using Maybelline Fit Me Concealer in 10 and concealed/highlighted under my eyes using Maybelline Dream Lumi Touch concealer in 01. It's a lot, I know. But she's a performer and needs to have her face beat to perfection at all times. I blended in all my cream/liquid products using a Real Techniques Mirace Complexion Sponge. I also set everything with my translucent powder, using the sponge. When performing on stage, you need that face to stay matte!


Jessica, as seen in the movie Who Framed Roger Rabbit, has a very high, rounded brow, with a very 20's feel to it. I opted for a bit more of a realistic look and just went with my natural shape. I filled them in with Naked 2 from the Urban Decay Naked Basics palette and set them with a tinted brow gel.


I primed my eyes using Too Faced Shadow Insurance and then to help add dimension to the eyelook I highlighted the inner corner of my eyes using NYX Jumbo Eye Pencil in milk and on the lid itself I blended Urban Decay 24/7 eye pencil in Riot. It looks messy, but that's fine as it's just a base for the rest. It won't show, promise!


If you are familiar with the work of Mrs. Rabbit, you will know that she loves her some purple eyeshadow and I felt that this bright, metallic lavender shade from the Urban Decay Vice 2 palette was spot on. It has the shimmer that will look amazing in the spotlight on stage and I just think it's a pretty colour. I applied the colour Betrayal all over my mobile lid with a flat paddle-shaped brush.


I blended out my crease using this purple-mauve shade from my big Boozy Cosmetics p117 palette and a large, fluffy blending brush. It just helps create some dimension and give a little more smooth transition. You could leave the eyeshadow here, but we all know I am not going to.


With a pencil brush and the colour Voodoo from the Vice 2 palette I intensified the outer corner of the eye and the lower lashline. This colour is a bit tricky, beware of fall-out, I know I had a lot. But it's so pretty and sparkly, which again is something that looks great on stage.


I highlighted my inner corners with this light, shimmery lavender shade from my MUA Pretty Pastels palette, it seemed appropriate for the look.
Now this eyeshadow is obviously not EXACTLY as Jessica has it in the movie, but it's my take on how it would look in reality.


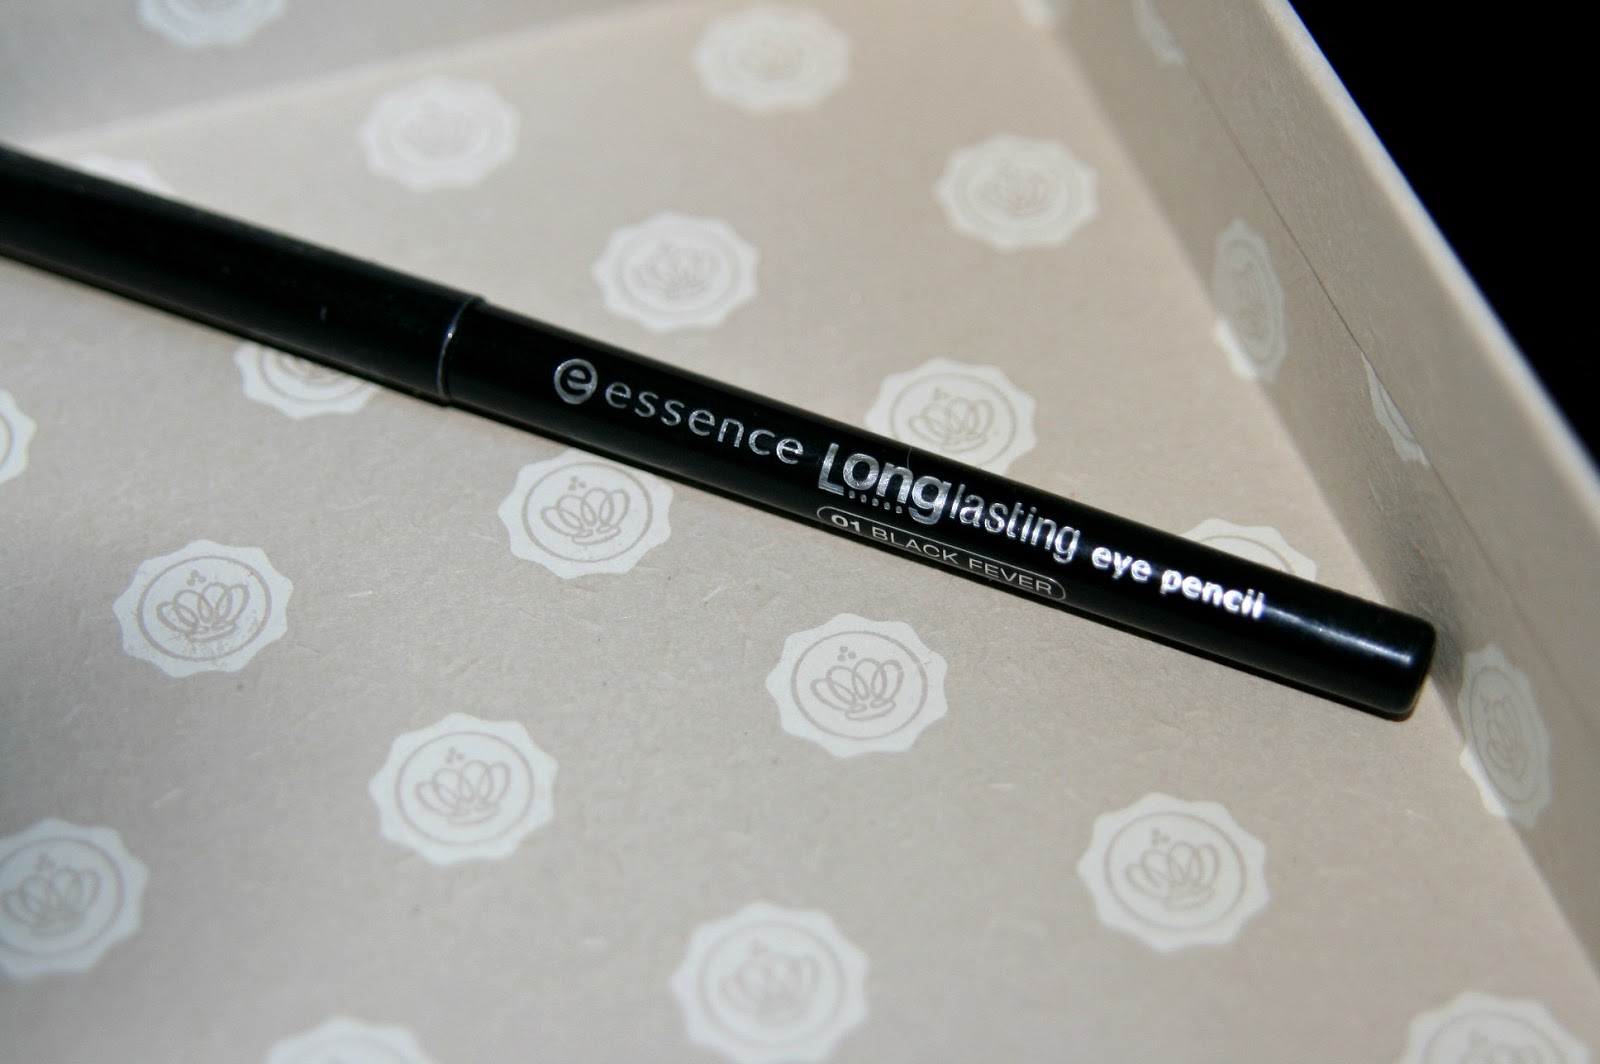
I lined my upper lashline and my waterline using my Essence Long Lasting Eye Pencil in Black Fever and blended it out with Urban Decays Crave from my Naked Basics palette.


Apply copious amounts of mascara and preferably falsies if you have them available. The bigger the better, she is a diva after all!


To finish off the face I contoured using NYX Blush in Taupe with a Real Techniques Setting Brush, NYX Blush in Peach with a Real Techniques Blush Brush and Dior Shimmer Powder in Rose Diamon and a Real Techniques Setting Brush. I also highlighted the bridge of my nose, my cupids bow (the top of my upper lip) and my browbone using the Shimmer Powder.


We all know Jessica likes her red lip, so to achieve the look I see on her in the movie I lined my lips with MAC Cherry Lip Liner and filled them in completely. I also overdrew my lips a little, for a bit more va-va-vavoom. I then filled my lips in using Rimmel Apocalips in Big Bang. Again with the lips you could go more for the heart-shaped lip she has in the movie, but I wanted to keep it realistic looking.
This is just my take on the makeup I think this over-the-top diva would wear in real life. To finish this off for a Halloween party, pair with a slinky red dress, purple gloves the sparkliest heels you can find! And obviously a a bright red, big and bouncy wig.
Thank you for reading and until next time!
XXX
For a perfect base I applied two layers of foundation, I mixed my Facefinity in Light Ivory and my All Matt Plus in Light Beige. Jessica being a cartoon AND a performer, you kind of need to go all out with your base. I concealed my face using Maybelline Fit Me Concealer in 10 and concealed/highlighted under my eyes using Maybelline Dream Lumi Touch concealer in 01. It's a lot, I know. But she's a performer and needs to have her face beat to perfection at all times. I blended in all my cream/liquid products using a Real Techniques Mirace Complexion Sponge. I also set everything with my translucent powder, using the sponge. When performing on stage, you need that face to stay matte!
Jessica, as seen in the movie Who Framed Roger Rabbit, has a very high, rounded brow, with a very 20's feel to it. I opted for a bit more of a realistic look and just went with my natural shape. I filled them in with Naked 2 from the Urban Decay Naked Basics palette and set them with a tinted brow gel.
I primed my eyes using Too Faced Shadow Insurance and then to help add dimension to the eyelook I highlighted the inner corner of my eyes using NYX Jumbo Eye Pencil in milk and on the lid itself I blended Urban Decay 24/7 eye pencil in Riot. It looks messy, but that's fine as it's just a base for the rest. It won't show, promise!
If you are familiar with the work of Mrs. Rabbit, you will know that she loves her some purple eyeshadow and I felt that this bright, metallic lavender shade from the Urban Decay Vice 2 palette was spot on. It has the shimmer that will look amazing in the spotlight on stage and I just think it's a pretty colour. I applied the colour Betrayal all over my mobile lid with a flat paddle-shaped brush.
I blended out my crease using this purple-mauve shade from my big Boozy Cosmetics p117 palette and a large, fluffy blending brush. It just helps create some dimension and give a little more smooth transition. You could leave the eyeshadow here, but we all know I am not going to.
With a pencil brush and the colour Voodoo from the Vice 2 palette I intensified the outer corner of the eye and the lower lashline. This colour is a bit tricky, beware of fall-out, I know I had a lot. But it's so pretty and sparkly, which again is something that looks great on stage.
I highlighted my inner corners with this light, shimmery lavender shade from my MUA Pretty Pastels palette, it seemed appropriate for the look.
Now this eyeshadow is obviously not EXACTLY as Jessica has it in the movie, but it's my take on how it would look in reality.
I lined my upper lashline and my waterline using my Essence Long Lasting Eye Pencil in Black Fever and blended it out with Urban Decays Crave from my Naked Basics palette.
Apply copious amounts of mascara and preferably falsies if you have them available. The bigger the better, she is a diva after all!
To finish off the face I contoured using NYX Blush in Taupe with a Real Techniques Setting Brush, NYX Blush in Peach with a Real Techniques Blush Brush and Dior Shimmer Powder in Rose Diamon and a Real Techniques Setting Brush. I also highlighted the bridge of my nose, my cupids bow (the top of my upper lip) and my browbone using the Shimmer Powder.
We all know Jessica likes her red lip, so to achieve the look I see on her in the movie I lined my lips with MAC Cherry Lip Liner and filled them in completely. I also overdrew my lips a little, for a bit more va-va-vavoom. I then filled my lips in using Rimmel Apocalips in Big Bang. Again with the lips you could go more for the heart-shaped lip she has in the movie, but I wanted to keep it realistic looking.
 |
| "I'm not bad. I'm just drawn that way." |
 |
| "Why don't you do right, like some other men do?" |
This is just my take on the makeup I think this over-the-top diva would wear in real life. To finish this off for a Halloween party, pair with a slinky red dress, purple gloves the sparkliest heels you can find! And obviously a a bright red, big and bouncy wig.
Thank you for reading and until next time!
XXX